
Lesson by Jacqueline Kemp and Alan W. Pritchard
What does congruent mean? What does symmetry mean and what can you do with the knowledge in real life? These are just some of the questions Jackie Kemp hears all the time as a 9th grade math/Geometry Teacher at Waccamaw High School. Mrs. Kemp wanted to do a special project and apply the math skills learned in class to a real situation. She knew about some of the kite projects that I did at Waccamaw in Mr. Jerry Bethea’s and Mr. Levon Matthews’ art classes. I saw her out in the hall one day while I was doing my hall duty and she asked if I would do a kite project with her classes. I said yes, I thought, I am always good for a kite project. I asked her what it would be about. In art we made kites and students painted their sails with all kinds of designs. We would talk about the history of kites and students would look up answers to questions about the history of kites on computers in the library. I told Mrs. Kemp about all this but she wanted to approach kites from a different angle! No pun intended her being a math teacher and all. Mrs. Kemp said that she wanted to apply math principles to kites and if I would show her classes how to build the kites. It was great that a teacher wanted to apply what was taught in school to something real and see if it works. I was all for it.
I asked her what to do about supplies for the kite project. I really didn’t have anything left in my budget except some supply money and a few dollars to fund my projects until the school year ends. Mrs. Kemp said that the parents would furnish the ¼” dowel rods used for the kites. She said that her parents would buy the string and kite reels. This was music to my ears. When parents help out in the schools the classroom thrives. Students do so much better when their parents are involved in their activities and even the teacher’s parents were involved. This was simply wonderful to see all of these individuals helping out with a school project to see young people succeed. I could get on a bandwagon speaking to helping children succeed in school and that it begins with caring parents but all I’m going to say about this is if you want your child to do well in school to please stay involved. We’re talking math here and this is a simple formula. When parents are involved in their children’s education each child succeeds. With all that in mind I volunteered some of my bulletin board paper for kite making and some glue gun sticks and glue gun.
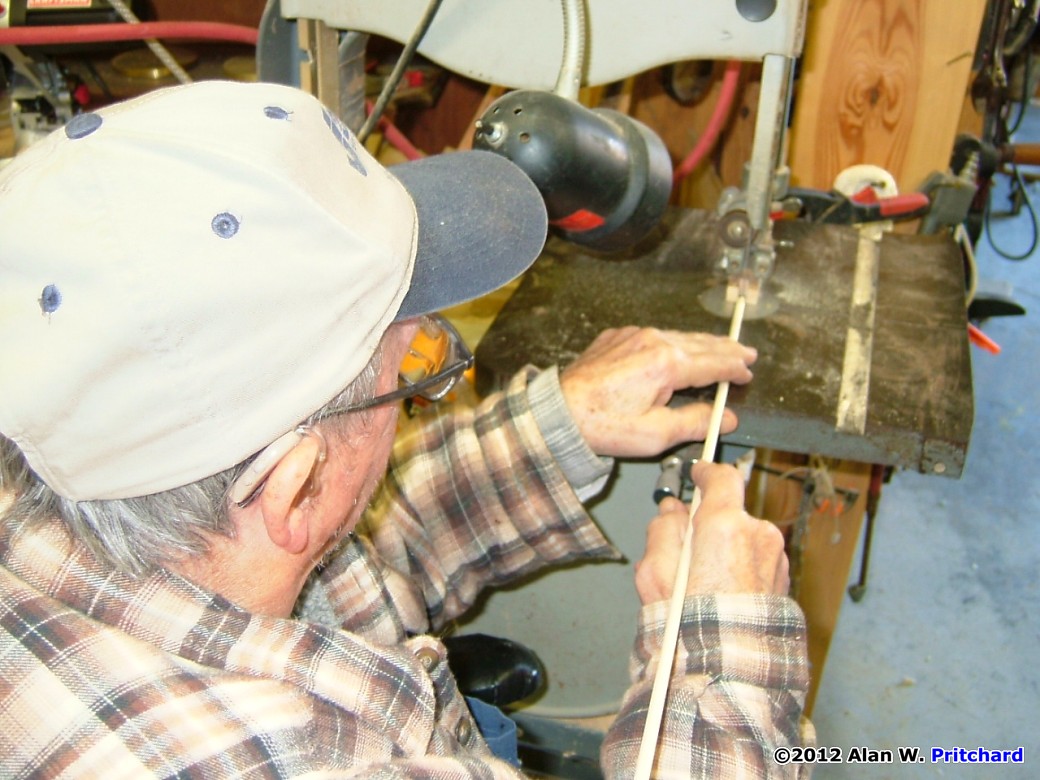
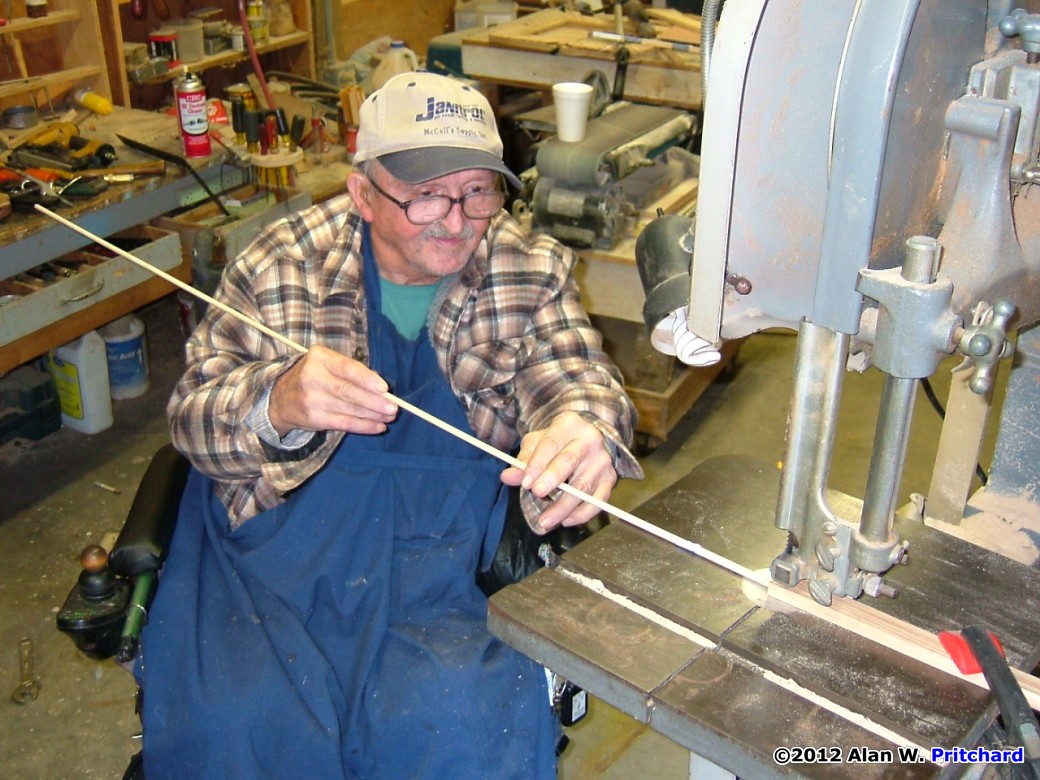
Mrs. Kemp and I talked about the kite project before Christmas break and after the break her students were already coming into the Media Center to pick up paper for their kites. I was given the ¼” dowel rods just before Christmas break so that I could take them home and cut a quarter inch kite notch into each end of every dowel. Well, most students I work on projects with know Bobo. When her students arrived at school after Christmas break and picked up their kite paper they were ready for their kite history lesson the next day and I told them about Bobo. The students said, “Bobo”! I said yes, Bobo. He is retired and works everyday in his wood shop. He makes all kinds of things out of wood such as birdhouses, boats, picture frames, furniture, etc. Bobo helps me cut kite notches in the dowel rods. He thought up this little rod jig to slip the rod in that is mounted to his band saw to cut the perfect kite notch. We worked on the dowel rods over Christmas break. Bobo and I built a kite years ago, a model after the 1899 Wright Brothers kite to scale, a double winged beauty made out of the muslin cloth that the Wrights used on their 1899 kite and the Wright flyer. It flew so great in the park in Georgetown, South Carolina that people were stopping their cars to see it fly but that is another story. My comrade of kites is Bobo Mercer, a paraplegic who enjoys helping others despite his disability. He can’t move his legs or feet but his hands have helped me cut plenty of kite rods for the students at Waccamaw High School. Bobo just says that he likes to do things for other people.
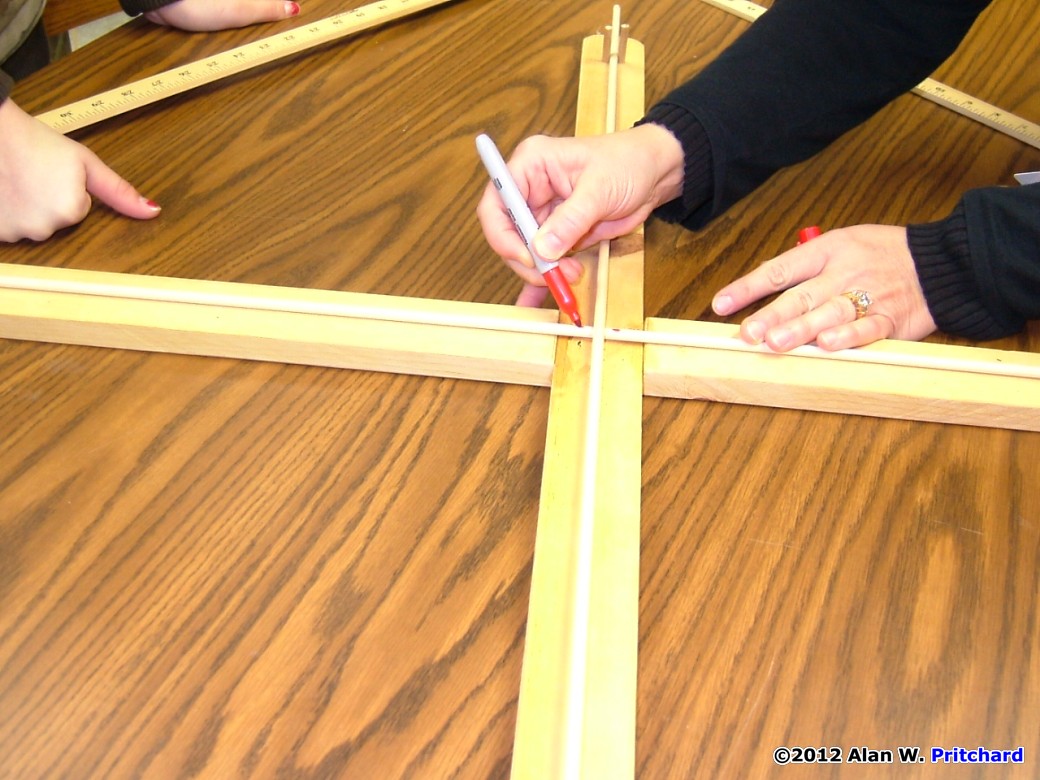
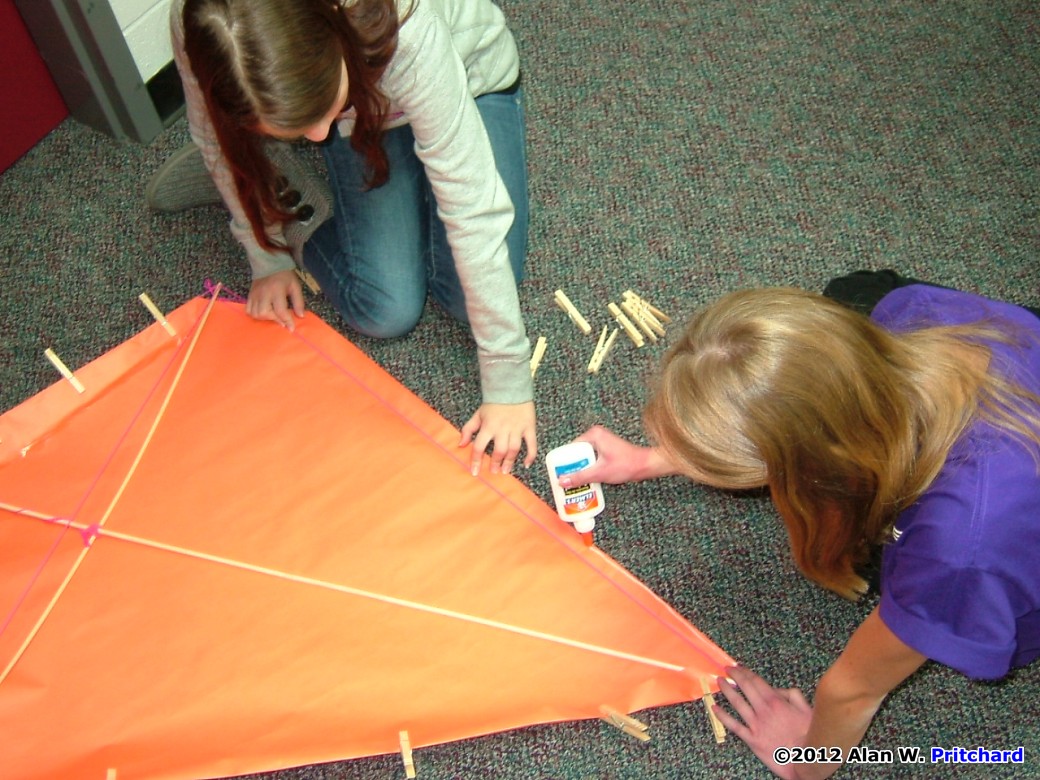
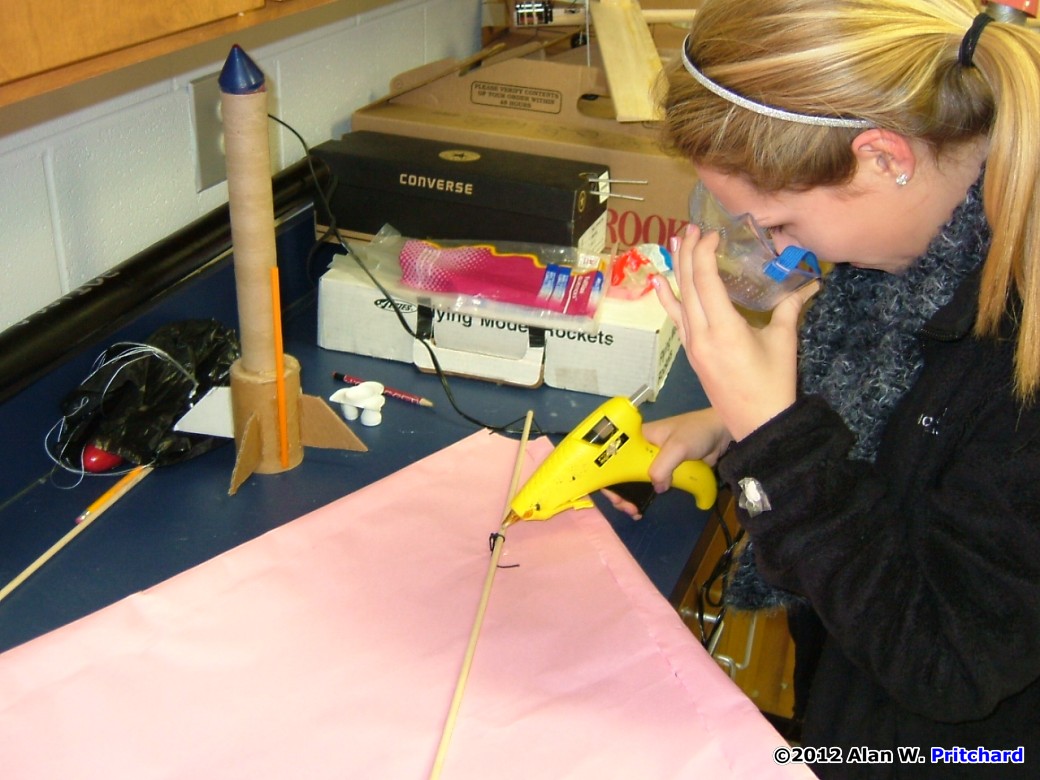
Finally, the next day the children were rearing to go. Mrs. Kemp and I showed students how to put the rods together in a special kite jig that Bobo made to hold the kite sticks together so that marks could be made on the kite for the cross stick. Students were working in groups on one kite per group. Each group received a 48” dowel rod for the center stick and one 36” dowel rod for the cross stick. Yes, you guessed it, we were making the standard Eddie Diamond kite. After students visited Bobo’s kite jig they went to the library work room to have Mrs. Kemp mark where to drop a dab of glue gun glue that Mr. Pritchard sat up on the counter. Glue is applied above the cross stick and below the cross stick on the center stick to keep the cross stick from moving around. The same was done to the center stick to keep the cross stick from moving up and down. Understand? Well, in other words, students did not glue the sticks together so that the kite would be easy to take apart in case a stick was damaged during flying or taking a hard hit on the ground. Mrs. Kemp brought in colorful pipe cleaners to tie the sticks together and the glue dabs kept the sticks from sliding around on the rod.


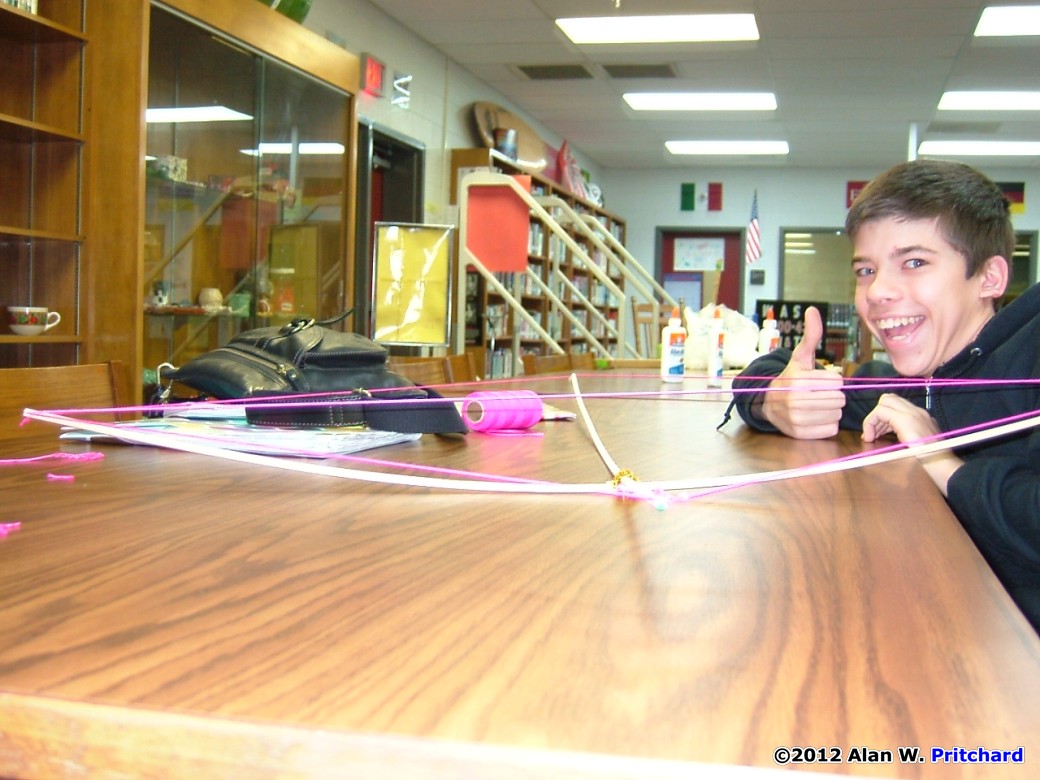
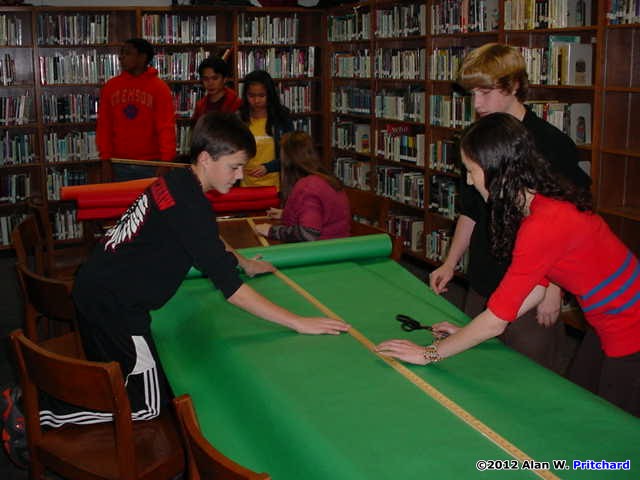
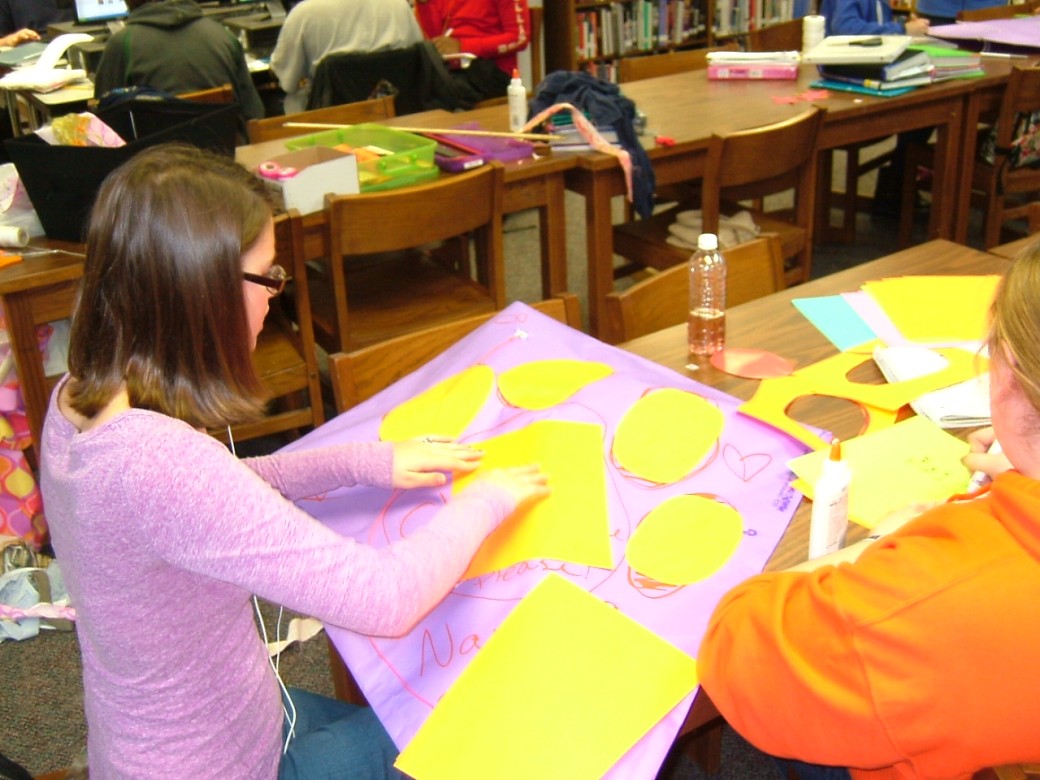
Once the sticks were put together the students went back into the library to put the frame string on their kite. A simple knot was tied on the end of a nylon catfish line and placed in the top notch. The student would then run the line all round the kite connecting the other three notches. Finally, the top notch would be connected to tighten up the kite all around by tying multiple knots at the end of the string to adjust the frame tension like a belt and cutting off the string from the roll. When finished the kite looked like a kite with a nice frame. They placed their kite frames on a piece of their bulletin board paper on the back side and traced out a four inch outline of their kite. They made cuts across the paper at each notch to expose one and a half inches of notch so that if the kite crashes and damages the sail, another sail could be replaced by easily cutting off the damaged one. These kites were made to buggie. They had to be made for repair because students are a little rough with things so the kite had to be made so that repairs could be done swiftly. Students used white glue to hold their sails on the kite frame being careful not to glue the sail to the kite frame string. Now the kite really looked like a kite.
Some students bowed their cross stick with a short nylon string, the same used for the kite frame by tying a knot to one end of the string and tying multiple knots in the other string to adjust the bow like a belt. Many students did this before cutting out the paper sail and some waited until they attached their sail. I think it is better to bow the cross stick immediately after attaching the string around the kite frame. This way one can judge how the sail fits the frame better.
A kite will not fly without a bridle. Students measured with a ruler six inches from the top notch down and marked the center stick. They also measured 10” from the bottom of the center stick and make a mark. This is exactly where the bridle attaches for kite stability. Students make a mark on the kite sail over the bridle center stick marks and punched a hole with a hole punch. Students then put a one inch square piece of clear wrapping tape above and below the punched hole in the center at both holes. A donut sticker was applied over the center where the punched hole was located and a hole is punched through the middle of the donut hole and wrapping tape.
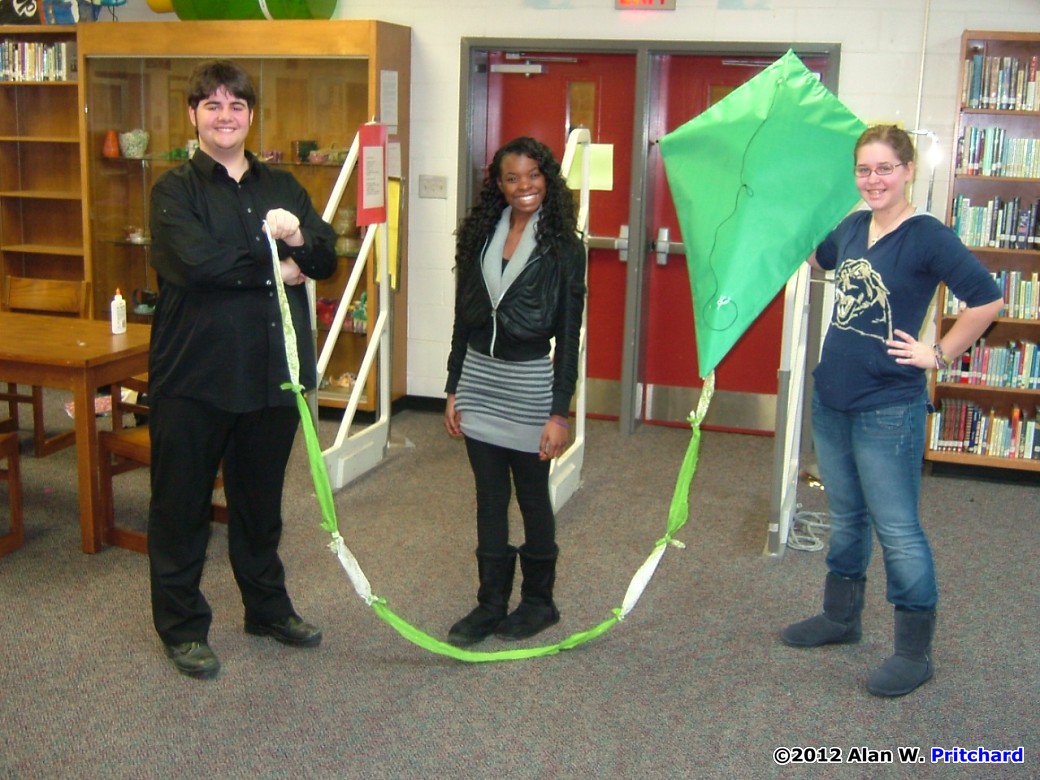

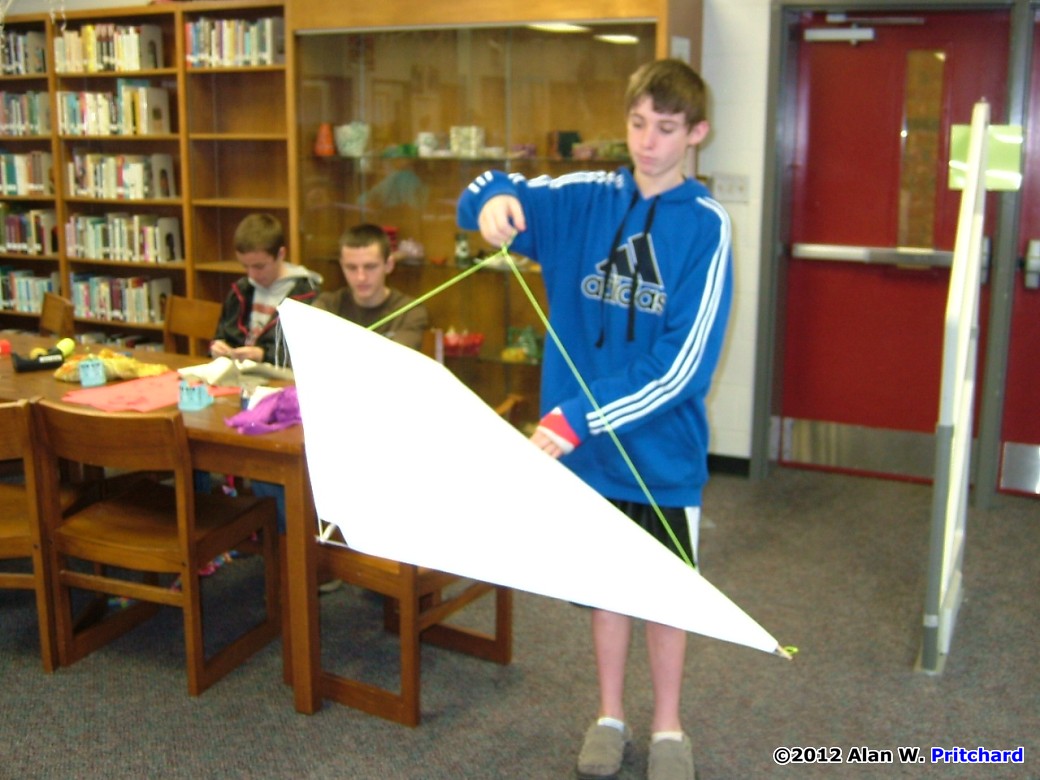

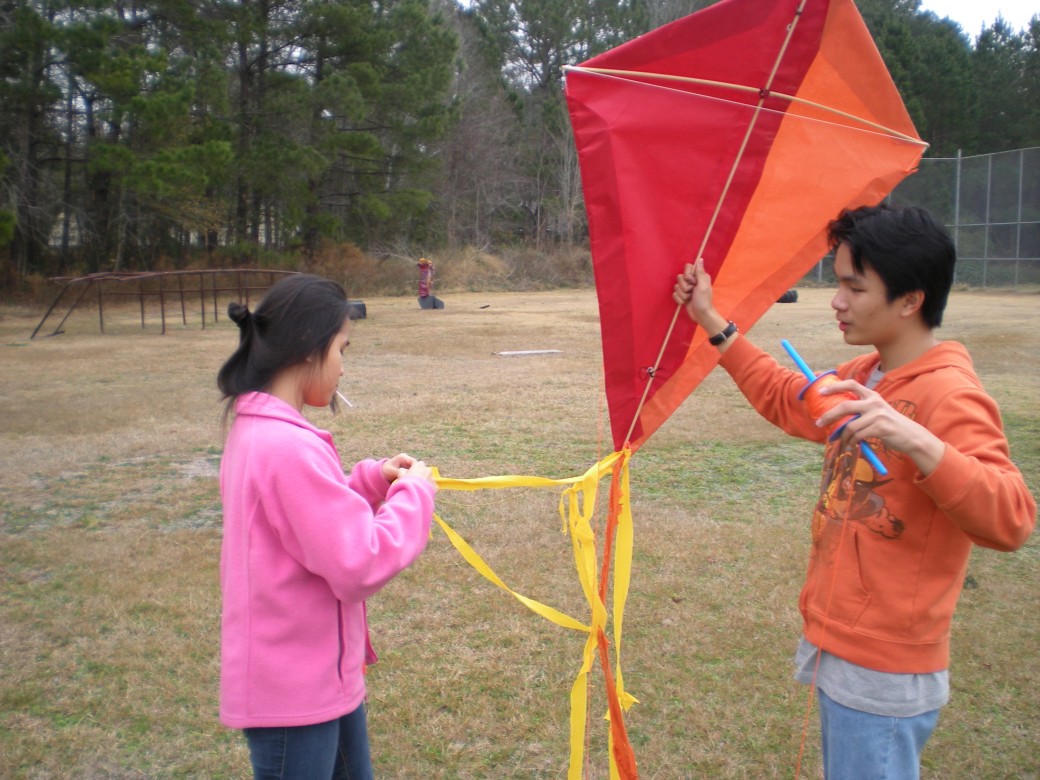
Now here is the question. What is the best knot to tie the bridle on with? Well, I’ve always used a two half hitch. It has worked with my other kite projects but I always wanted some kind of slip knot. Of course, I’m an Eagle Scout, but knot tying wasn’t my strongest suit in scouting. I used the same knot that I used on tying a tent down with on the kites. If anyone has a better suggestion I’m listening. Students attached the bridles with the two half hitch and gave their kite to me for a balance test. I literally pull the kite towards me as fast as possible to see it climb while holding the bridle at that 45 degree magic angle for maximum wind collection. When I’m sure where the best tow point is I use an overhand know to make a loop for swivel attachment. Then students take their kite back into the library workroom for the final step. They have to make a tail hook for each kite. This is simply done by taking two small wire ties (students like bright colors) and using one wire tie to tie the other wire tie onto the bottom of the center stick. I usually make a loop first in one wire tie and then loop one wire tie around the center stick at the bottom and attach the tie. This makes a great loop to attach a tail. Now the kites are ready for a beautiful colorful tail. Students used many of the colorful pieces of cloth brought in by Mrs. Kemp. Most of the kite tails were eight to ten feet long with some shorter or longer. Students attached a tail or tails to their kites. We were just glad that the kites were finished. Mrs. Kemp got in a shipment of kite reels with 30 pound line on them. She asked the students to take off the 30lb test line and put on catfish line rated at 110lb. The catfish line was very colorful from a lovely neon yellow to orange. She asked students to attach number one fishing swivels to each reel and I taught them how to do that by using the fisherman’s Parlamer knot. That one, I was good at thanks to all my fishing days when I was a teen. We were now ready to fly.

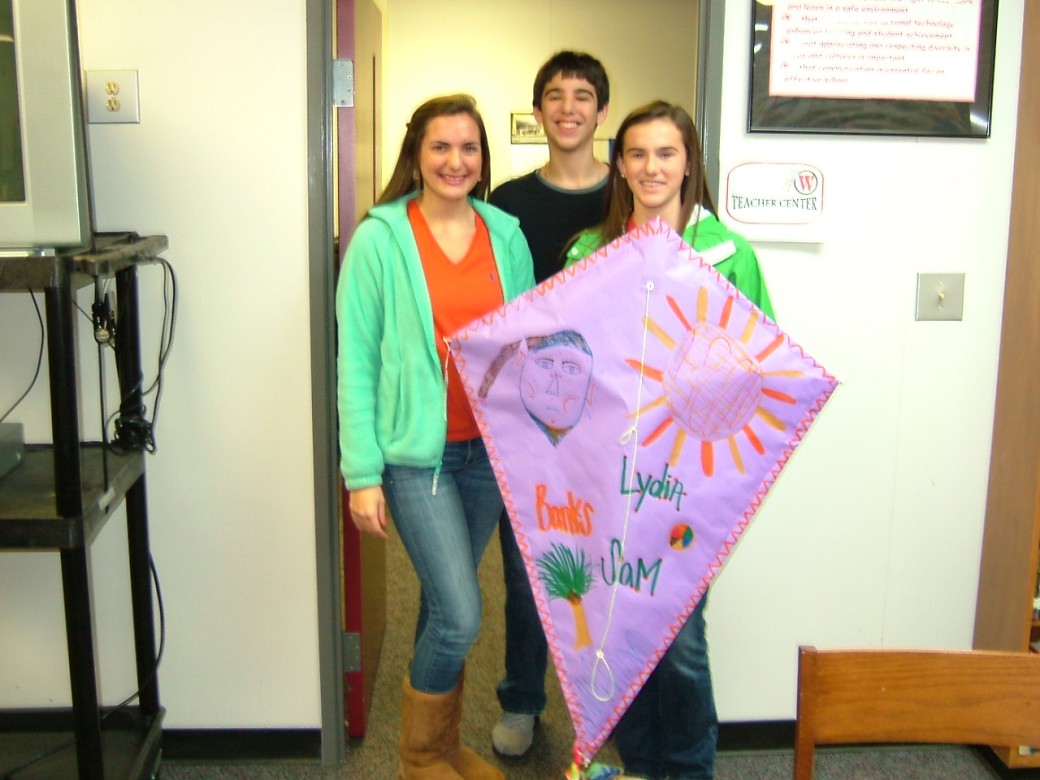
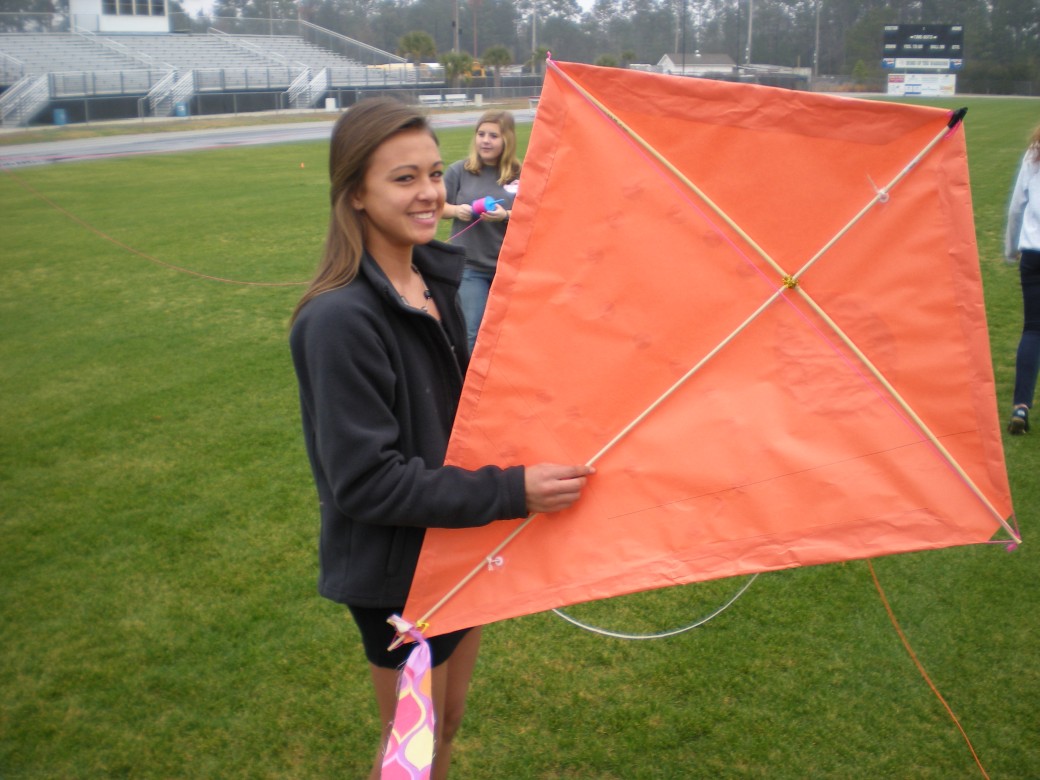
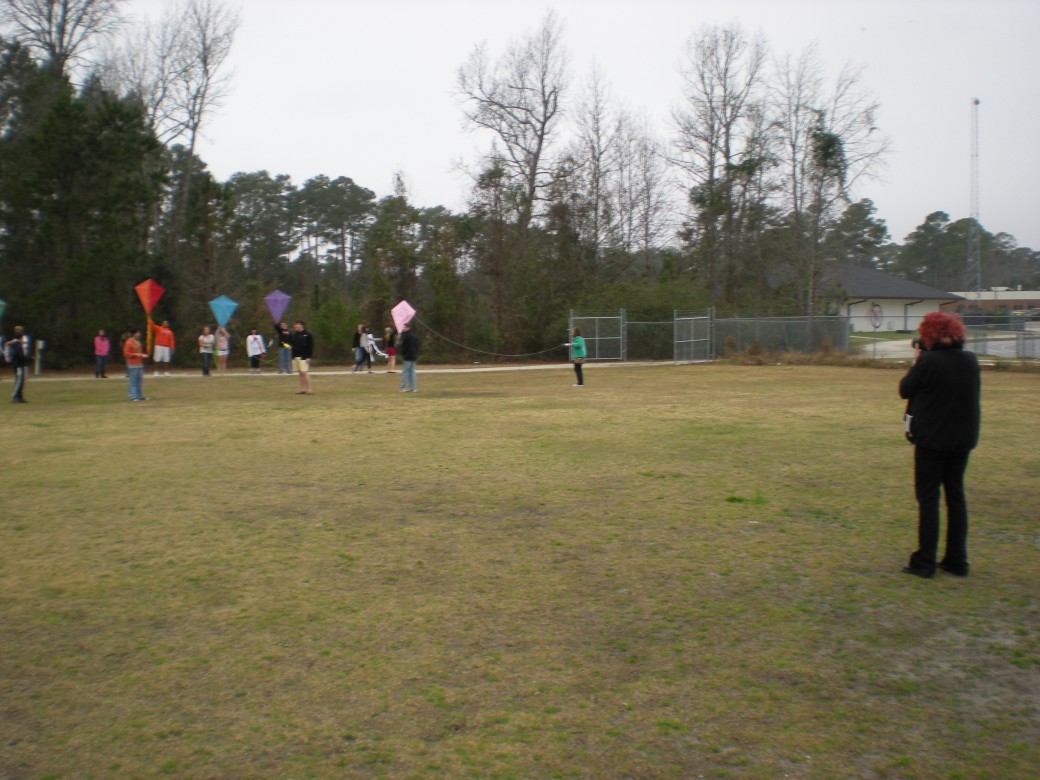
The day to fly did not present itself well. We all woke to a misty, foggy, day and it looked like it was going to rain any minute. The temperature was not cold, above 50 degrees, so we went out to fly on the football field. Each class made a picture with their kites and were ready to fly. Each group flew their kites with one person holding the kite near the bottom, another holding the tail, and the kite pilot holding the reel. With a countdown and loud shout of launch by Mrs. Kemp each kite flew into the air while the kite pilot ran with the reel. Each kite flew very well with some going high into the sky. It was a good day and we didn’t get rained on at all. The kites were well made and well balanced. Students measured one side of each kite the same as the other as close as possible. I think congruency was achieved. Students have applied and understand that congruency means to make one side exactly like the other and that one side is a mirror image of the other. We would still have congruence if one side was flipped upside down because congruency means that one side has to be like the other but not necessarily oriented the same. This might work on some kites but not on the Eddy style kites. Both our sides must be congruent but only as a mirror image. Balance is everything in flying. So what is a standard diamond/Eddy kite in mathematics? It is known as a Quadrilateral which is a four-sided polygon with four angles. I bet you didn’t know your standard kite was a quadrilateral did you? A little thing you might want to know about kites. They make math interesting or should I say math makes kites interesting? Oh well, math and flight go good together.

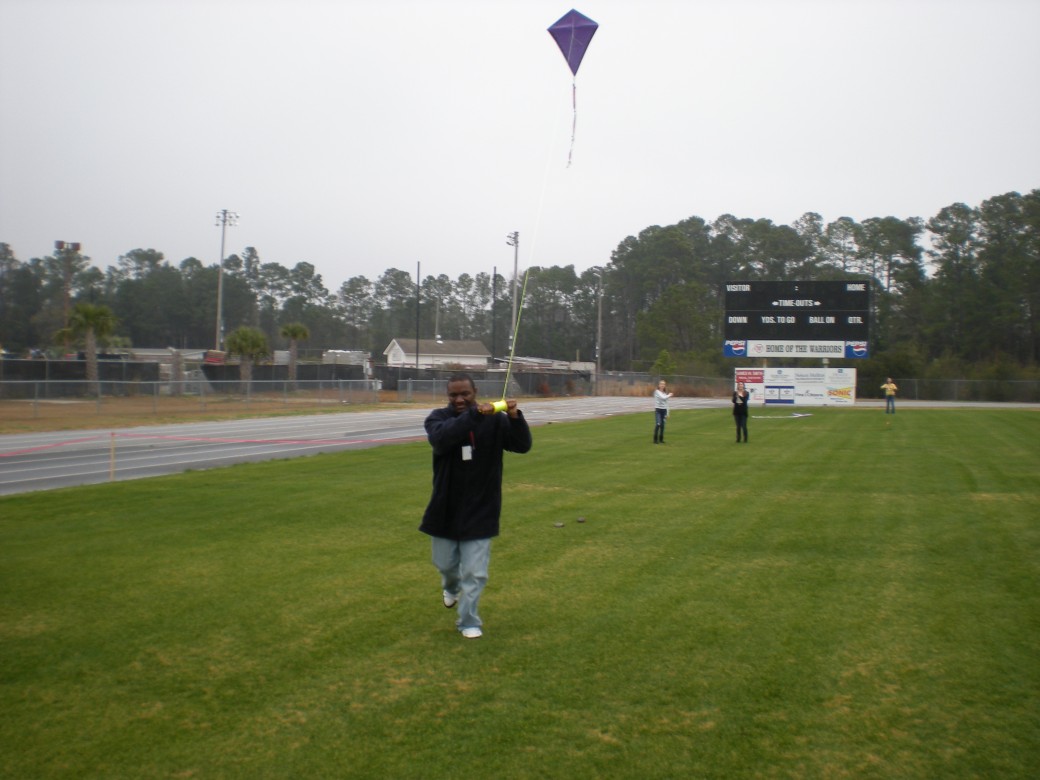


One little thing I need to mention, there was little or no wind. There wasn’t enough wind to fly a kite. That in itself is probably an expression people use I don’t know but it sounds reasonable to me. Ha! Anyway, I wasn’t really sure what to do with no wind. I’m a kite flyer from way back in the 70s and when there was little or no wind I would quit and wait for another day. Well, their teacher Mrs. Kemp told them to run with the kite. I reminded them to let out a lot of line around 20 yards worth and she told them to run with the kite. Mrs. Kemp placed another student about 70 yards down the football field that we were using and told each person to wait until the kite flyer ran to them and pass the kite reel to them so each person could also run with the kite. Students passed their kites around the field several times and completed a circle around the field with each kite in the air. Sometimes Mrs. Kemp would have them do a massive launch with all students running with the kites and passing them around. I told Mrs. Kemp this could be an athletic event in gym class. It wore me out running with the kite and Mrs. Kemp did the same too. I think she ran better than I did although I think she is younger than me but I didn’t ask. Ha!
All in all it was a great day even though it was so gray outside, foggy, and misty. The kites survived the weather and the students so I believe that we had some well made kites. I know that I went into a good bit of detail about the kites but I thought that some teacher s out there may want to reproduce Mrs. Kemp’s project and I’ll try and post the lesson on this site. The colorful kite lines of yellow, green, orange, and even some black and white string made the kites even more interesting as they were flying. As we said before it you don’t like the line that is on your reel then change it. The catfish 110 pound test line from Walmart worked great and the colors were great. The kite reels came from Into The Wind. I have ordered kites from there before and have not been disappointed. I especially like kite stores or shops because your choices in anything is much greater and in this case we used the department and kite store.


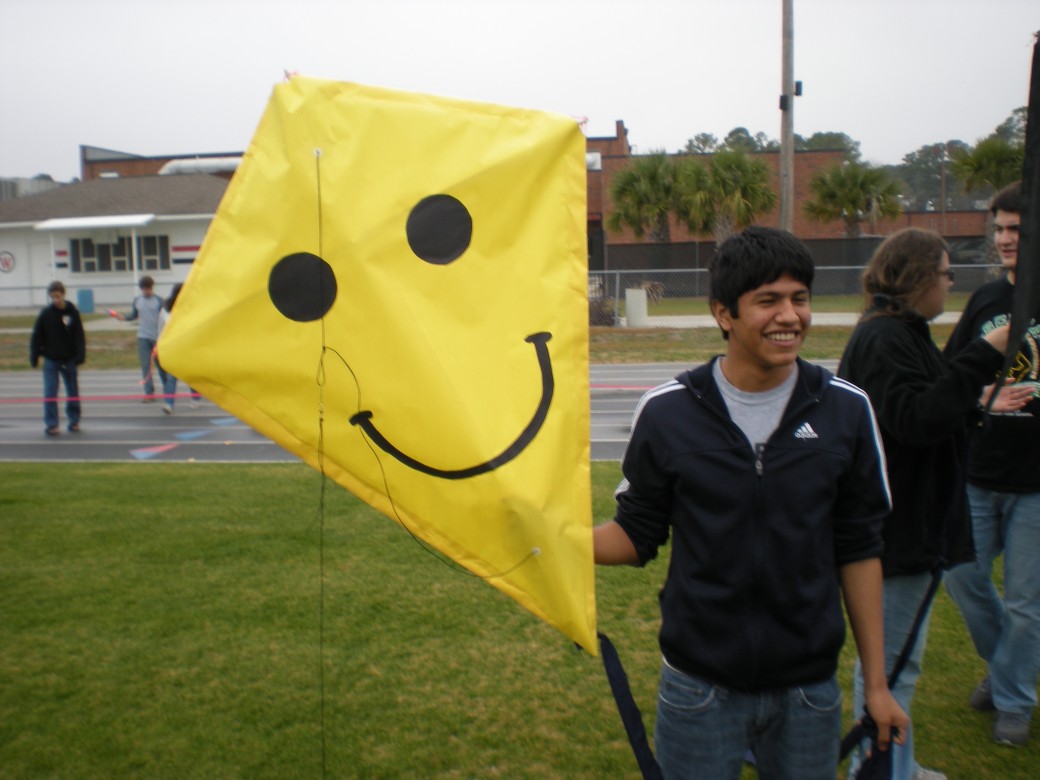
Please watch the video and look at all the pictures. Don’t forget about the lesson plan also. Our kites have taken some time to perfect, years, as a matter of fact. I think we now have the perfect classroom kite that is easy to make, easy to repair, and easy to fly. Our school is going to have more projects so look for them in Kitelife Magazine and also look for our big kite event coming up on April 5th when we will fly kites from many different classes. So go out there and fly a kite and feel your troubles float away. All I saw were smiles on the faces of the students in Mrs. Kemp’s students while making and flying kites. Go have some fun flying a kite.
Notes from Mrs. Kemp:
The kite shape is one of the shapes that the students studied in our unit on quadrilaterals. I wanted to integrate a project in the unit that would give the students a real-life application for quadrilaterals. I had heard that Mr. Pritchard, our Media Specialist, had been constructing kites with several art classes for years and I asked him if he would be interested in helping my students with a similar project. He graciously accepted the challenge and was an amazing asset to the construction process and history of kites. When constructing the kites, it was important that the students adhered to the properties of the kite shape. When the students studied this particular quadrilateral, they learned that the diagonals of a kite must be perpendicular, that the longer diagonal bisects the shorter diagonal, that the two adjacent shorter sides and the two adjacent longer sides of the kite must be congruent, that the two angles formed by the two different side lengths are congruent, and lastly that the longer diagonal plays the role of an angle bisector. The students were asked to pay close attention to these properties during the construction of their kites. The students enjoyed personalizing their kites with different colored paper, string and designs. This project was a success, the students had fun and it reinforced what the students had learned in the classroom. This was a great interdisciplinary project by involving geometry, physics, social studies and art.
Included downloads (PDF):
- The History and Geometry of Kites (lesson plan)
- Instruction Sheet A for 48 inch kites
- Kite figure for test
- Kite Project Assessment (Blank)
- Kite Project Assessment (Solutions)