This January marked the debut of my new indoor Rev team Flyform. Along with John and TK Barresi, we performed for the first time to the Black Eyed Peas “Pump It” at the Windless kite festival in Long Beach, WA. I recently received our new team practice kites and was put in charge of making them FlyForm worthy.
The Rev Indoor is the indoor solution from Revolution. For indoor flying, this kite is my first choice every time. I have been flying indoor Revs for four years now, and I am known for my uniquely aggressive style that has spawned my own personal preferences in regard to the setup of the kite. Upon receiving a new Rev Indoor, I have a few modifications to do to make sure it performs how I want it to.
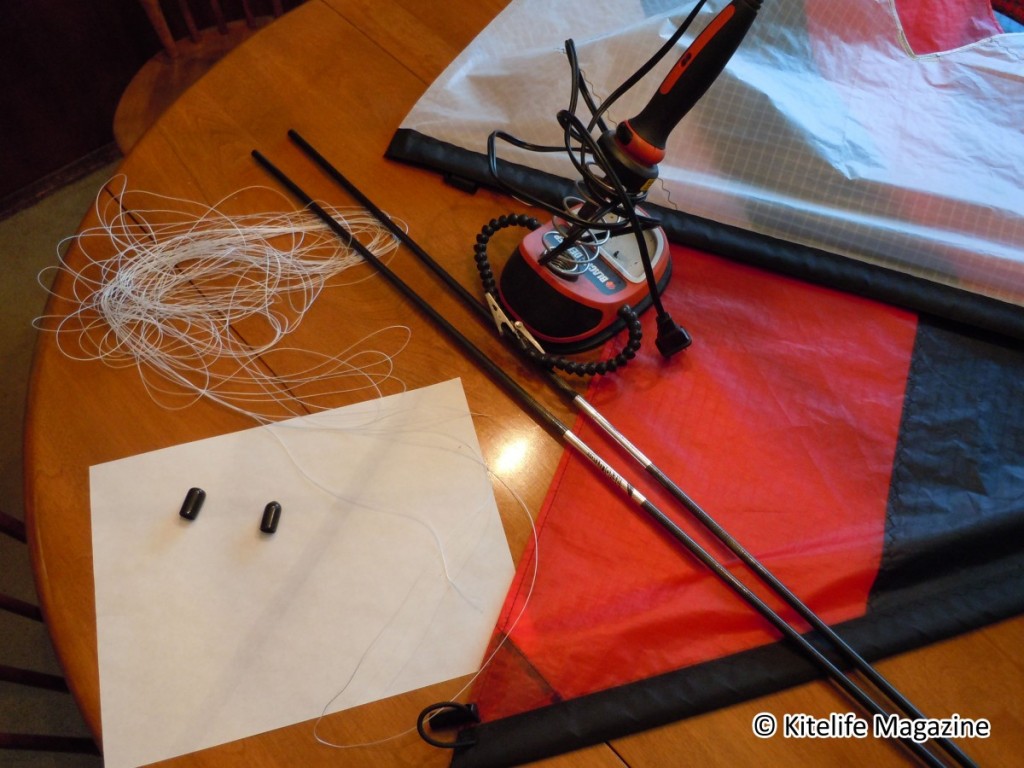
For these modifications you will need an Indoor Rev, some vinyl end caps, some scrap line, a soldering iron, some scissors, and a lighter.

Tighten the Bungees
The first thing to do to a new Rev Indoor is to tighten all the bungees. The bottom bungees should be tightened a good half inch. Tightening the bottom bungees will aid in the kite’s ability to do deep glides and power up the way it should.

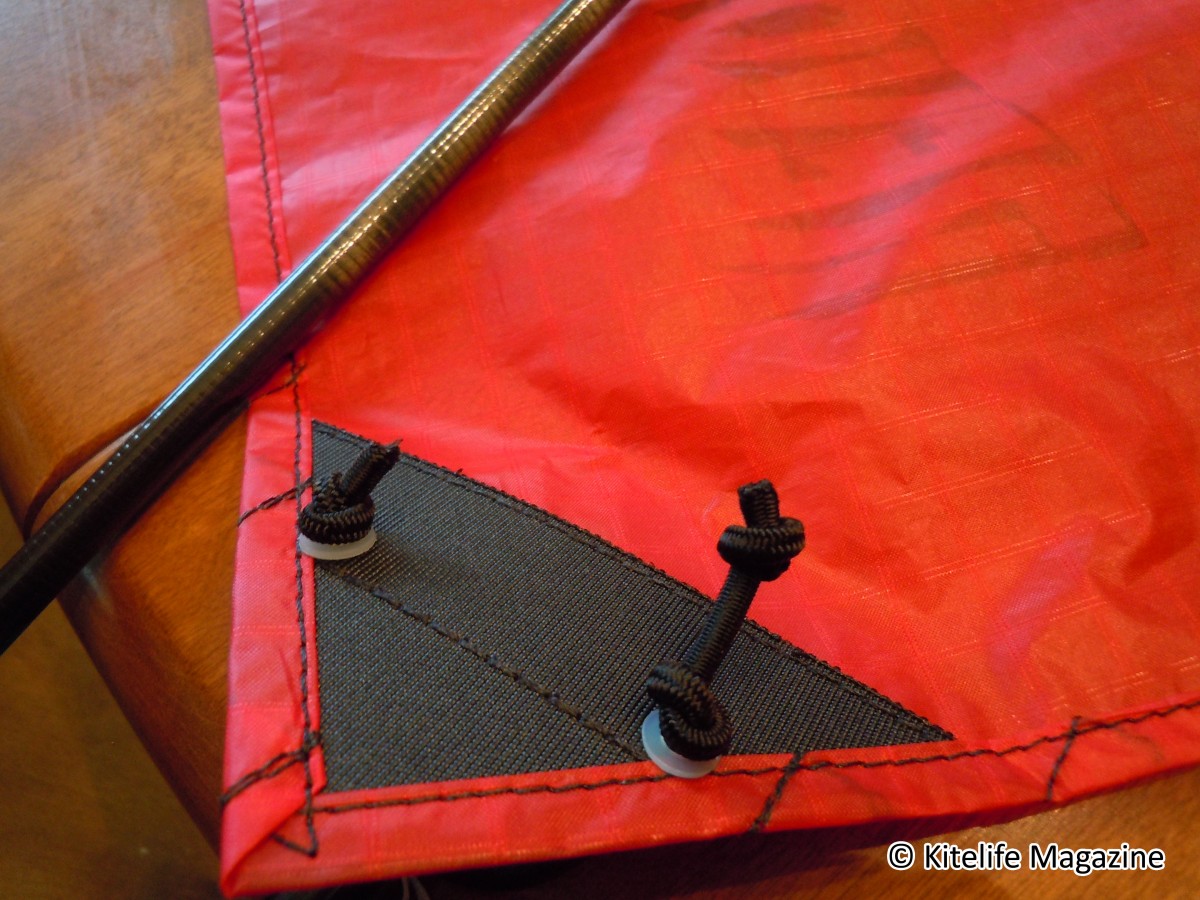
I also like to tighten the bungees on the leading edge by 1/4 to 1/2 an inch. Doing this will force the leading edge of the kite to bend a bit more. The reason I want the bend in the leading edge, is that this provides more slack in the belly of the kite, and allows the kite to load up properly. This change makes a huge difference in the kite’s ability to fly backwards.
When re-tying the bungees, remember to cut off the old knot, and use a lighter to melt the end of the bungee to keep it from fraying.
Make new pigtails
The next thing I do is adjust the pigtails on the kite. The kites that I received came with pigtails on the top and bottom of the kite that were about six inches long. These just won’t cut it.
For any Rev to fly properly, your top lines must be longer than your bottom lines. For the Rev Indoor, most of the prominent fliers have their top lines extended anywhere from 10 to 13 inches longer than their bottom lines.
To be clear, this extension of the top lines is not done by having an unequal line set. Instead, we use a length of line attached to the handles or the kite with a series of knots on them. We can move our lines up or down the knots to adjust how much longer our top lines are than our bottom lines.
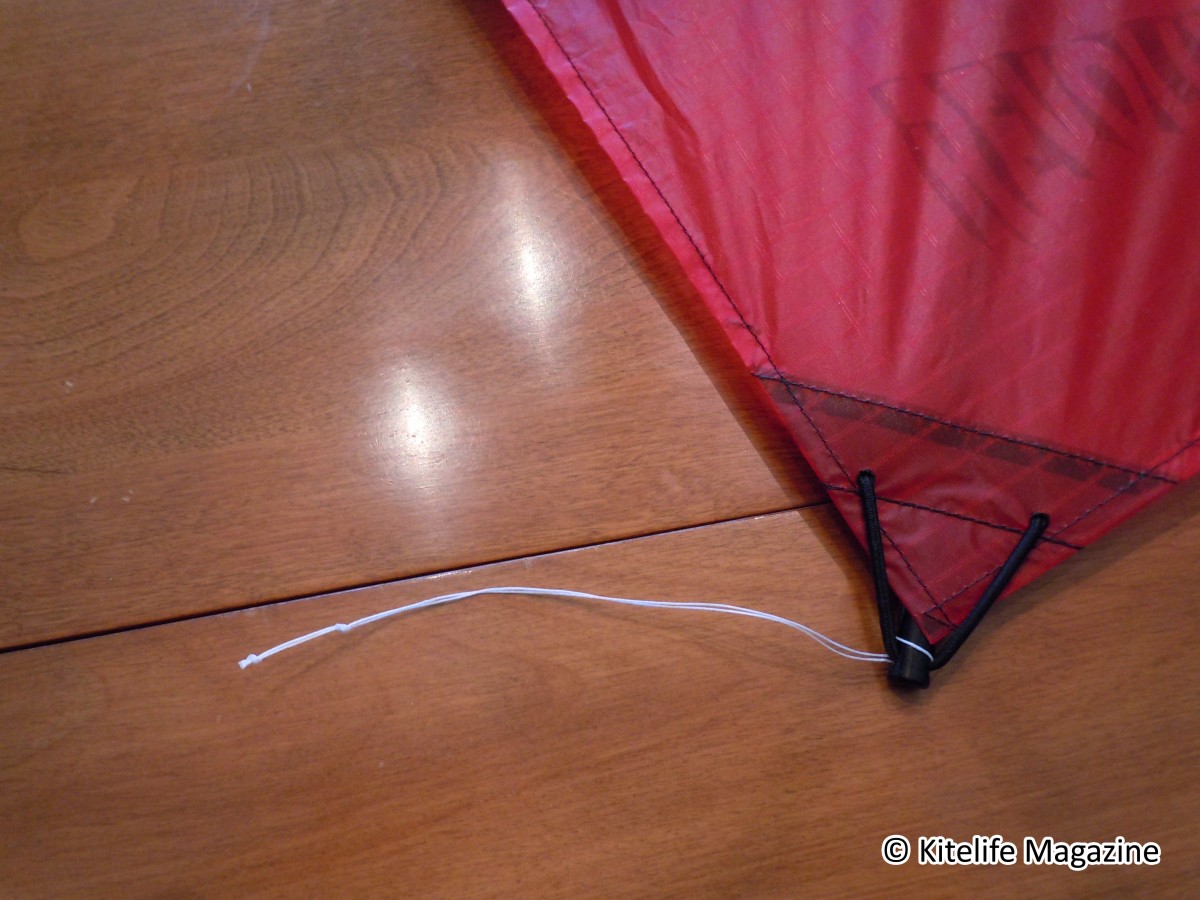
First, I adjust the bottom pigtails. When I am tuning my kite, I make all my adjustments on the top lines. So, since my bottom lines are always going to be shorter, there is no point in having extended pigtails on the bottom. So, I tie one knot about an inch away from the end cap, and cut off the rest. Like with the bungees, remember to take a lighter to the end of the line.
Next, it’s time to make some new top pigtails. I tend to use whatever scrap line I have laying around. Any spectra line of at least 90lb test will do. In this case I used a wad of 90lb Laser Pro Gold. The line is going to be folded in half to create the pigtails, and we want to end up with pigtails at least 10 inches long. To be on the safe side, I cut off 2.5 to 3 feet of line for each pigtail. You need some extra to compensate for the line taken up by knots, and any extra on top of that can be cut off at the end.

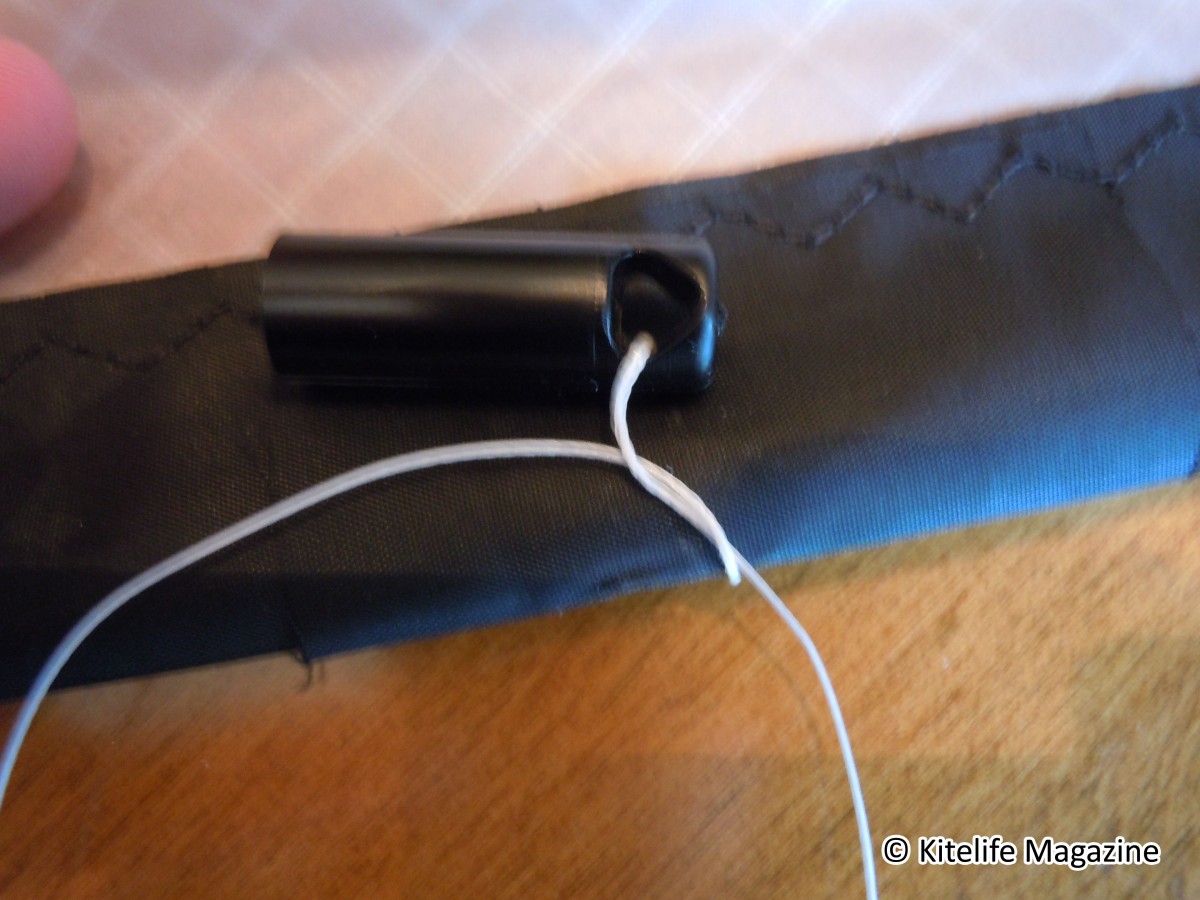
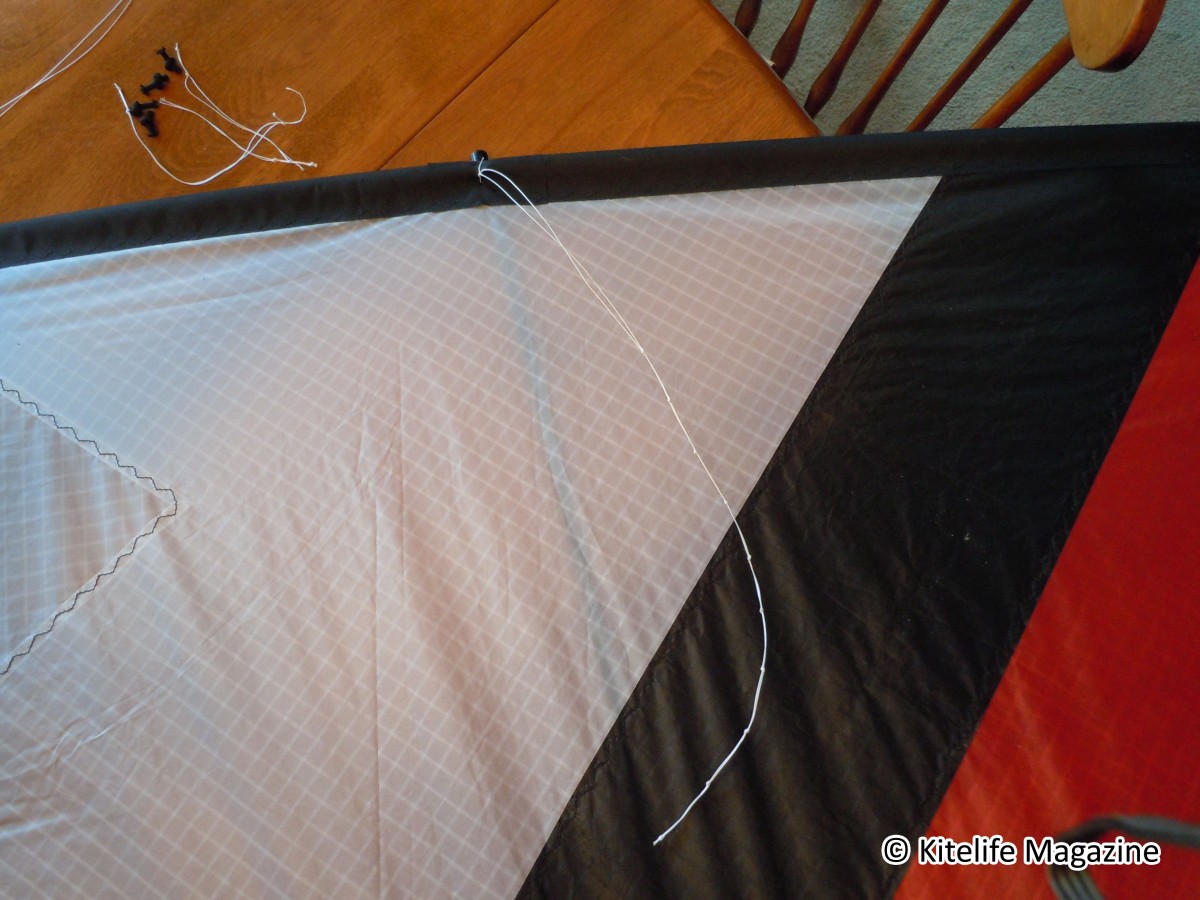
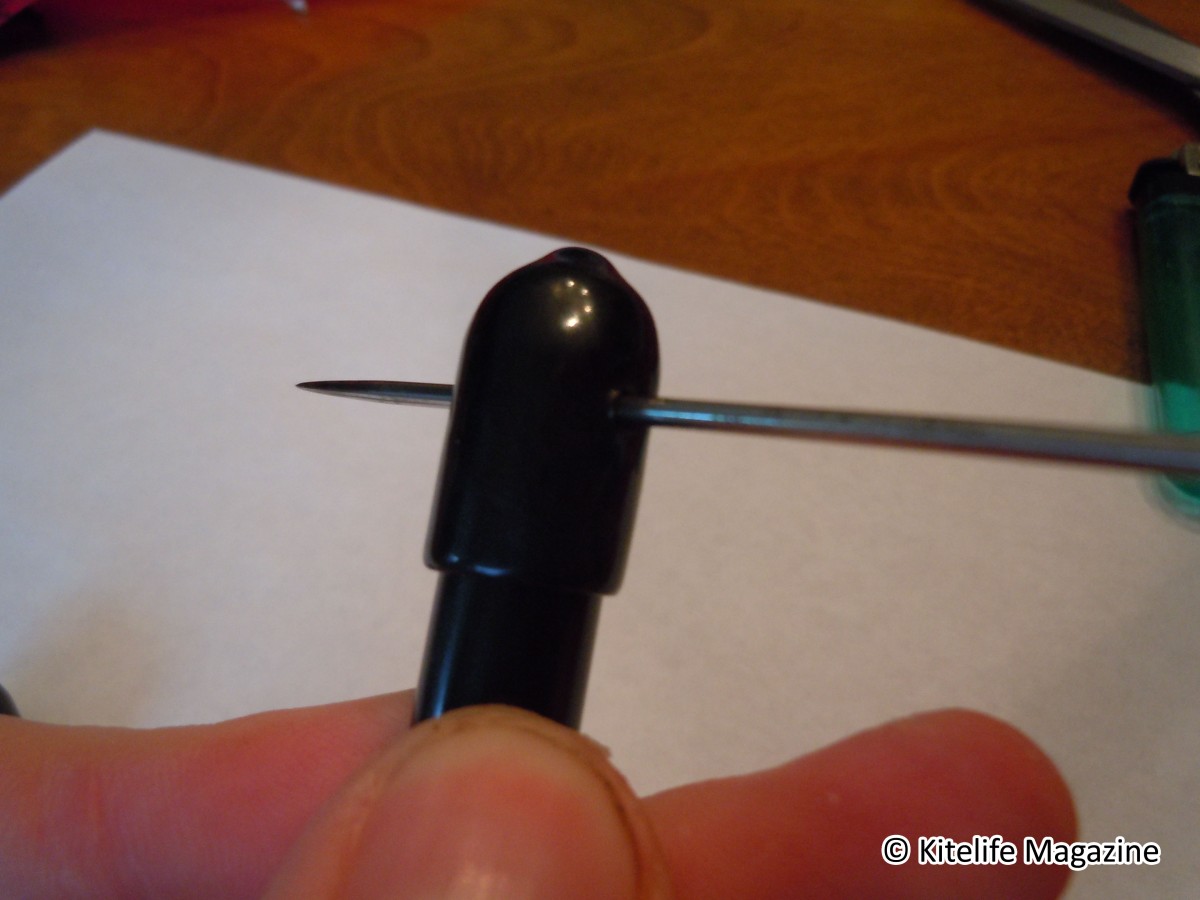
Now it’s time to cut off these original pigtails. You will notice that the top pigtail is what is holding the end cap to the leading edge. So, when we tie our new pigtails, we need to match this. So, I thread the new line through the hole in the leading edge, and through the end cap, and tie it on with a simple square knot and an overhand knot on top to keep the square knot from slipping. I use a large needle to keep the knot as tight to the leading edge as possible. This needs to be relatively tight because if it is too loose, then it will simply negate the bungee tightening that we did earlier.

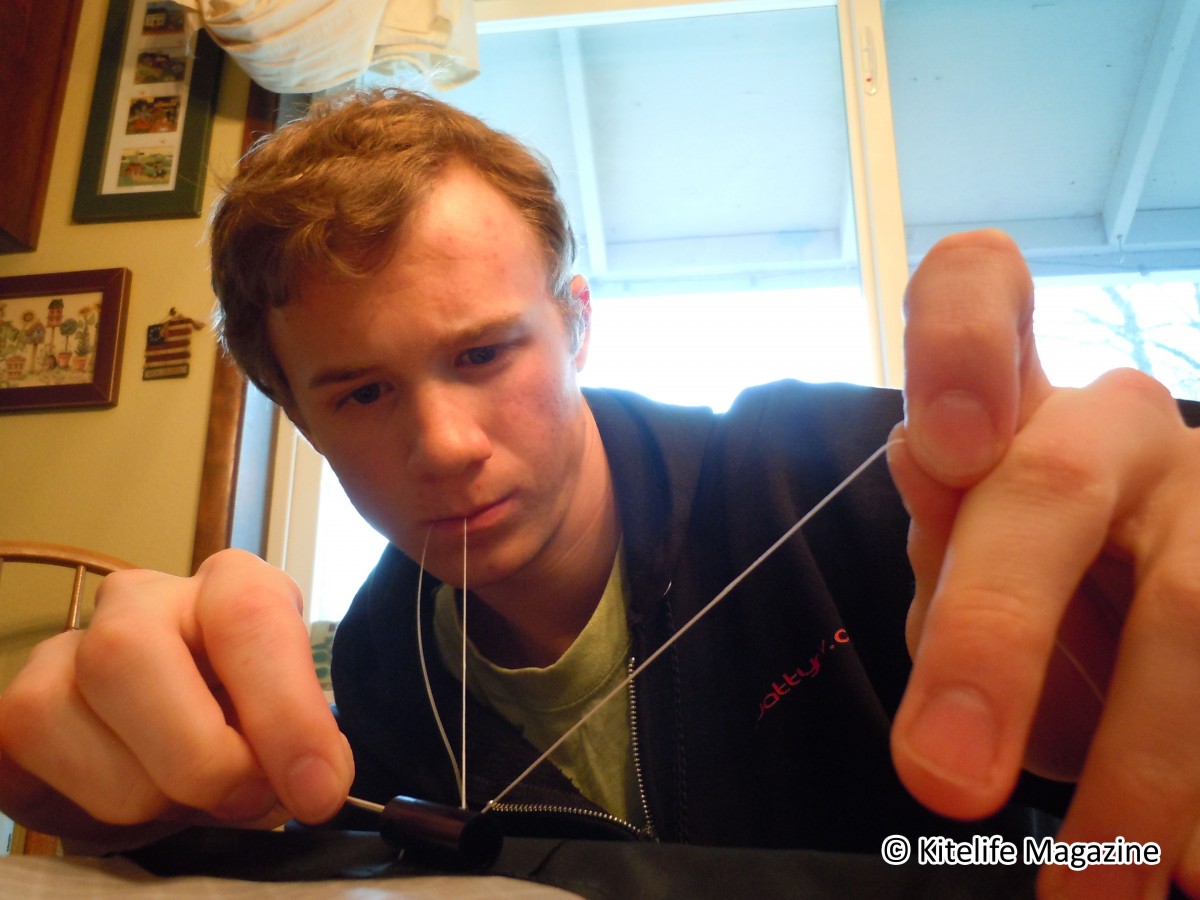
Once the end cap is tied to the leading edge we can start tying the knots for the pigtail. I begin tying knots about six or seven inches away from the leading edge. I tie a knot roughly every inch until I get to the end of the lines. Then do the same to the other side. It is good to try and keep the two sides the same as much as you can. Absolute precision is not completely necessary. To be honest, the Rev Indoor is a funky feeling kite, and having your pigtails slightly off won’t make a huge difference.


When you go to fly the kite for the first time you will want to take time to tune it. Start with the top lines attached to the farthest knot, and pull them back one knot until the kite feels comfortable for you. I tend to cut off any excess line after I have tuned it. If the kite feels like it is turning in one direction over another, tie an extra knot or two in one of the pigtails to equalize them.
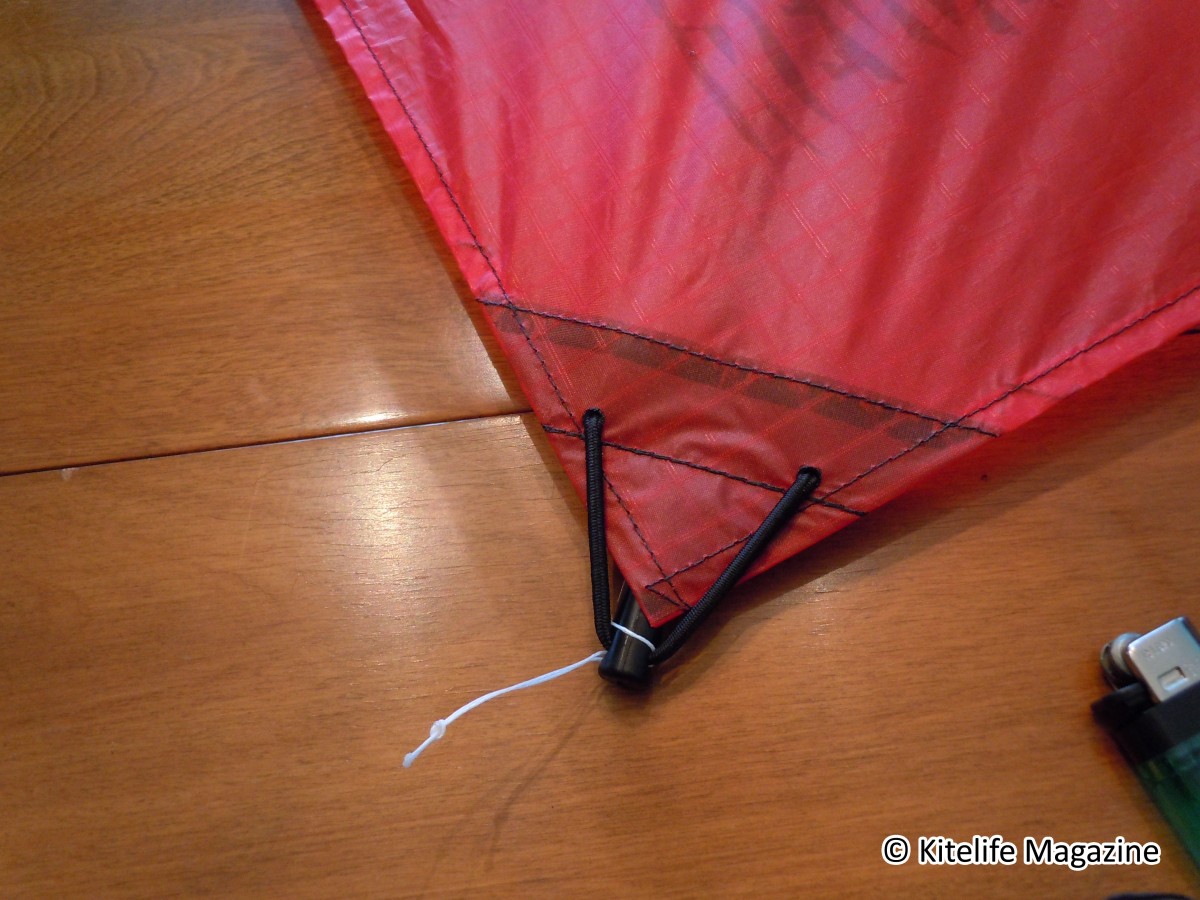
End Caps
The final modification I make to a new Rev Indoor is to add vinyl end caps. I use 10mm vinyl end caps that I got at The Kite Shoppe. The idea behind the vinyl end caps is that the end caps on the Rev indoor are plastic. When flying on a hard wood or other smooth floors it can be difficult to get the kite to stand upright. Adding vinyl end caps over the top of the original plastic end caps gives the kite a bit of traction on these types of floors. These also help to dampen that horrible sound when the kite lands.
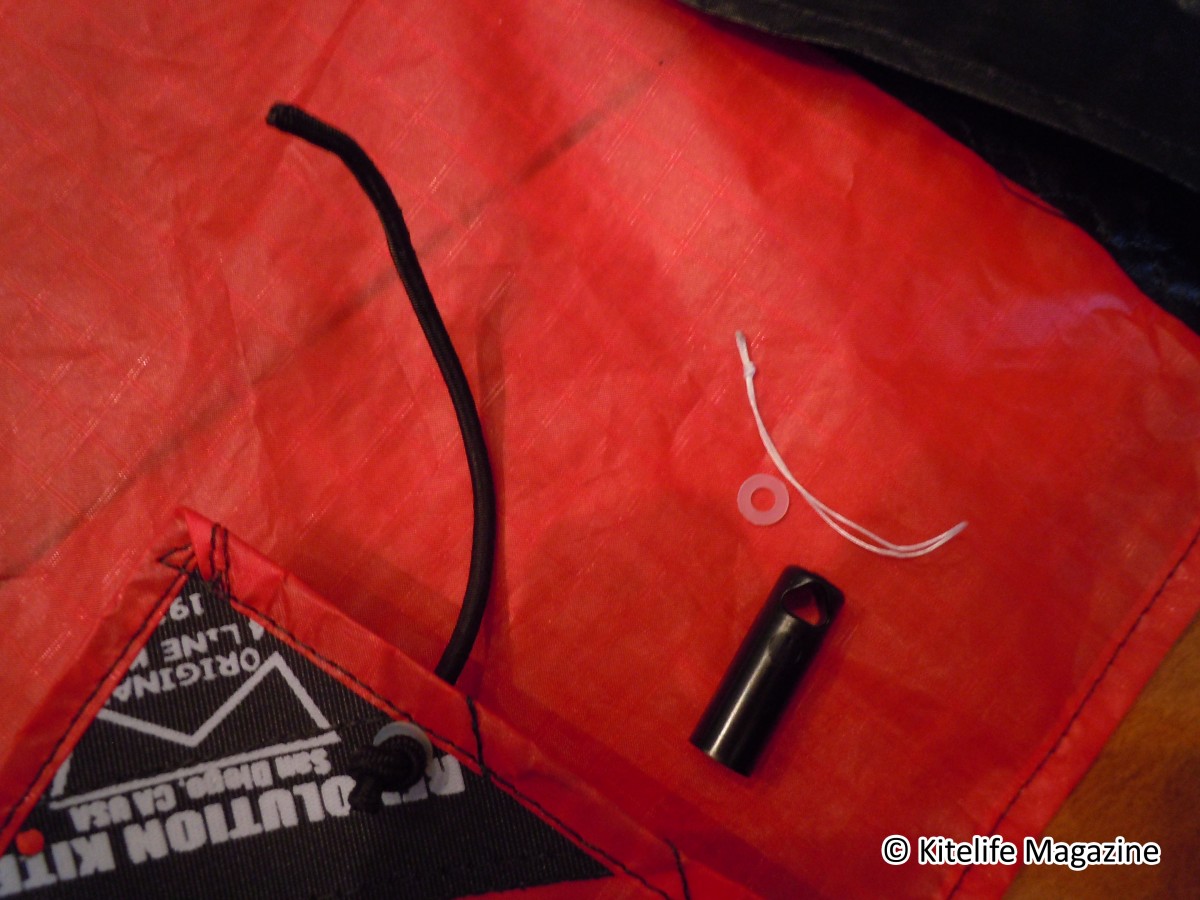
The first thing to do is to remove the bottom end caps. Untie one side of the bungee, and slide off the end cap, then remove the pigtail from the end cap. Remember to keep track of the pigtail, and the small white washer. You wouldn’t want to lose those. Now, pull the vinyl end cap over the end of the plastic end cap, and push a needle through the open space of the plastic end cap. This will mark the vinyl end cap with a small dot on either side. Remove the vinyl end cap then take a heated up soldering iron and burn a hole through both sides on the small dots that we made a moment ago. Make sure that the hole you make is large enough to accommodate the pigtail and the bungee to pass through, but not so large that it butchers the end cap.


Once you have done this with two end caps, you can slide them on to the original plastic end caps and line up the holes. Then slip the end cap back on how it was originally, and retie the bungee.


Once all these modifications are done, the kite is ready to be thoroughly abused!

Bare in mind that these modifications are things that I do to suit my own personal preference. I hope that you will take what I have shown here, and use it to your advantage and adapt it to your own personal preferences.
Until next time,
Watty