This was created from the "good side/bad side" "lessons learned on Mesh #3. The LE is made from Freilein Kite Bag Canvas.
Again first flight was one day after work without video but I kept up the throw launch tradition..
First Video is here..
FWIW, this is the first kite I ever put in the ocean.. Luckily JB was there to help fish it out of the surf. Wet Ripstop is HEAVY..
FS #2 My first full sail and kite #1 out of the first Gomberg 96' Transition tail. This kite reused the LE from Tails and was intentionally a loose sail to induce flutter and explore some "artificail belly" While it performed OK I did have Eliot tighten the belly a bit befor the kite's debut at the Rogallo festival in 2017
First Flight was at the point at Whalehead. Video captured by Mike Klaiber and posted to his Peaks of Otter Facebook.. Thanks Mike.
I wanted to explore some uneven spacing and was very pleased with the outcome one this kite which also debuted at the 2017 Rogallo festival. Jim Cosca told me this wasn't a good kite, it was a GREAT kite. High Praise coming from a master.. No Video yet was too busy flying to record.
This is my first kite with a PROPER Leading edge. As of this posting it has not flown but I expect it to fly similarly to FS#2 since it is truthfully its panel mate. The sail is a touch tighter than FS3. Notice the white markers are offset between FS#2 & FS#3. Epected First Flight will be at the Wright Kite Festival in 2017
The center panel is the excess material from FS#3 and the sail itself is Red White Blue, G-Kites Transition tails in the front and Skywriter tails in the back. My second kite with a proper LE and I did induce a slight curve to the LE to mimic the positive flight characteristics of Mesh #3. This one was bridled today and I expect to fly it along with FS #3 at the 2017 Wright Festival.
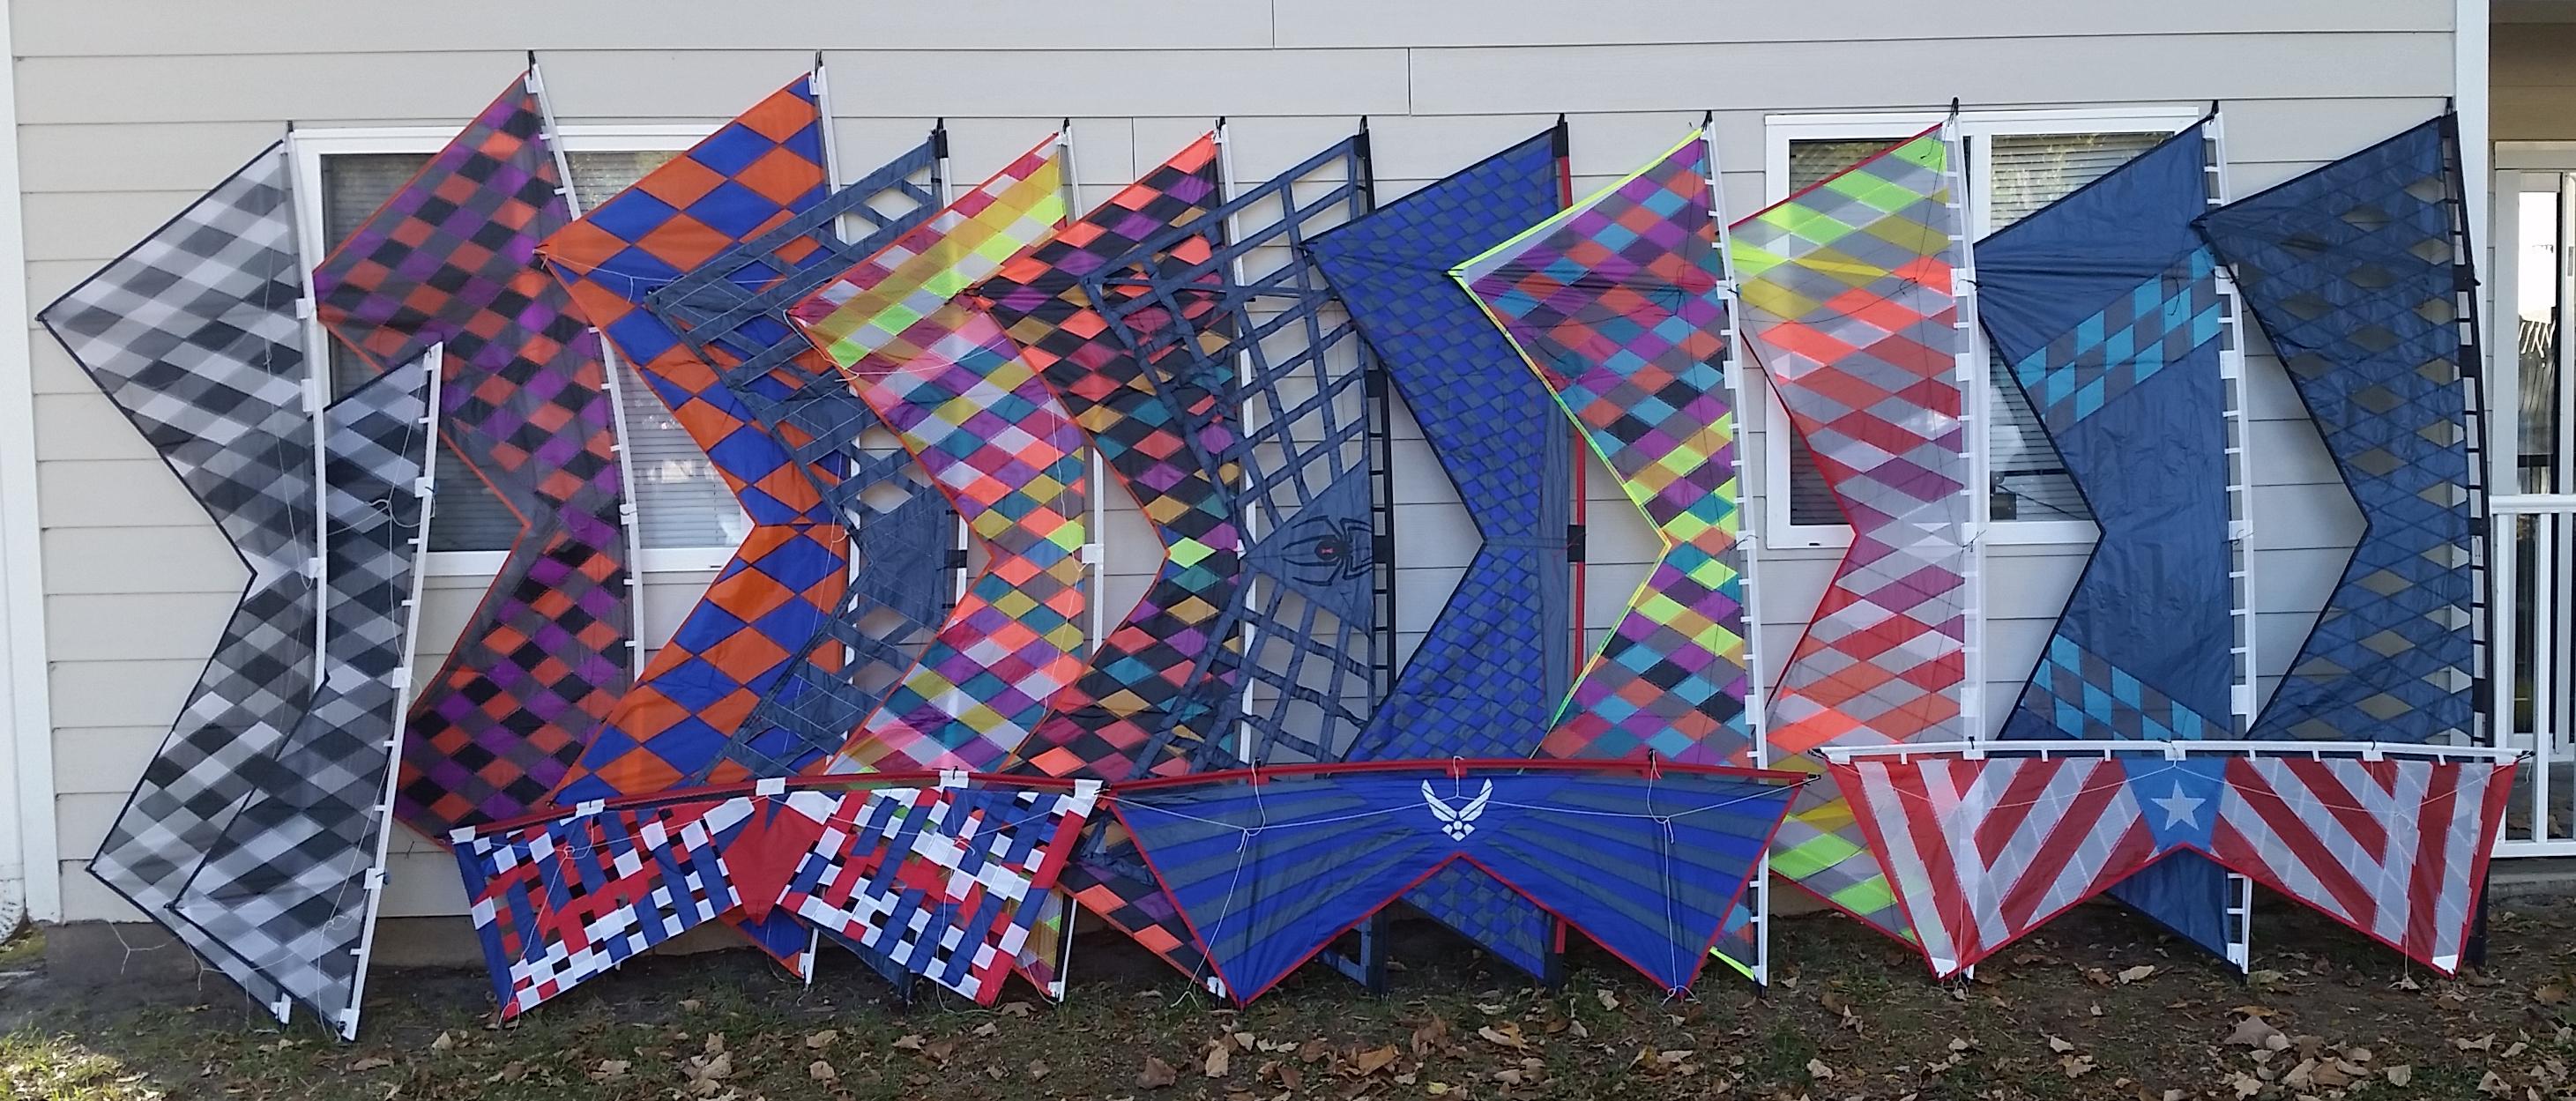
Finished Sails for 5 Kites from one 96' Rainbow Transition Tail today. Will finish the Endcaps, Bungees and custom Skyshark frames this week. Hopefully first flight will be at the Wright Kite Festival in 2 weeks. It's where I flew my first home made 2 years ago. These kites all have 72" LE sleeves and will use 74" LE. I'm still considering putting a vertical black stripe on the center of each sail.
While this will never actually be made (I DON'T Have the skills to replicate the pattern like this.) I have started sewing the scraps together to make anpanel I can use fer anything from a kite to a kite bag.. I decided to flip and mirror i into a 9 panel layout just to mock up what it WOULD look like.
Woke up with a song in my head this morning..
"Let's Go Fly a kite!
We'll see if i made them right
even though the wind is light
we'll keep them soaring
throw launch the sail first time
catching the air so fine.
come, let's go.....Fly a kite..
Even though I wasn't able to make the Wright Festival today, I had to get out for a few minutes before the rain hit to get first flight in on these sails.
FS #3, Mesh #6 and the Spectrum Stack have all fl
This one is a bit differently sized than my typical builds.. It is a 83.5" Leading Edge. Midway between the 1.5 and 2.0 sizes.. This will either be my new night kite or the middle kite in a future progressive stack. Temporary bridles at the moment since I've never tied bridles this size.
ZERO wind but still started with a toss, followed by a ground catch..
Those who know me know I can't pack small no matter how hard I try.. Rogallo Festival is this weekend. First big event since the pandemic. Lots of kites to fly, lots of stuff to try BUT, Jockey's Ridge does have one downside.. IT is not the most accessible site to fly at. Closest parking is at Kitty Hawk Kites across the street but that's a long ways to carry 4 kite bags, Umbrella/chair/canopy/cooler/camera equipment etc. As much as I want to carry "everything" it just isn't in the cards. FWIW,
Since the new year, I've turned my attention to materials other than tails.. Nothing wrong with the tails constructions but I wanted a new perspective.. and that perspective was perspective..
Angled shapes started out as a lazy harlequin pattern in complimentary colors. Because of the pattern it became the Jester. This was my first run at edge joining materials that were not already hemmed.
The Jester followed by a vanishing point perspective in dissimilar materials.
I've decided to take all of the perspective kites (Except for The Jester) and finish the individual panels.. I'll mix and match those to make 5 or six kites (maybe even 7) and fly as a stack for a bit..
By finishing them all at once I can ensure they are identically sized and with same aspect ratios. So the panels will progress but no finished kites until I'm ready to finish them all. This was the strategy for the Spectrum Stack and it worked well for me.. Otherwise I tend to have slightly
Diamonds in the dark
Decided I wanted to take my seaming technique to a feasible limit. Using the same materials as the Midnight Royal and Yonder, I went with a diamond pattern and worked it through nearly the entire sail yielding over 450 panels. Encouraged by the mock up, I pressed forward. Once the sides were nearly done I realized how much actual area I had lost with the 1/4' overlap.. i decided to wedge some poly at the top to give it a bit of a retro look. Ready to join the center an
It's been a whiles since I added any entries to the blog but it not for lack of sewing kites. After Jester II I decided it was time for some new color chemes AND new fabric.. 22 YArds of Icarex in Black White, Silver and Gray followed soon after.. I decided to take a chance and make an offer on the scrap bin and received a good bit of the full spectrum of colors..A full sunset fade
was the first endeavor followed closely by purple fade with several different shades of purple
A
Added Leading Edges to Scrapestry and Purple Fade this morning..Touch of Blue Leading Edge was done last week and posted. Sunset fade MIGHT be taking a different route to leave more camber and sail area. It may end up being more of a light wind kite for me..In short, there's a bit of sail there that is "extra" and I'm deciding if I want to leave it oversize or trim it down to standard 1.5 dimensions.
So I found an older colorizer over on GWTW and adapted it for the diamonds design.. It's not web based but gives me a pretty good idea of how I can set up my color schemes. Here are a few quick samples.