-
Posts
3,015 -
Joined
-
Last visited
-
Days Won
332
Content Type
Profiles
Forums
Gallery
Downloads
KL Shop
Blogs
Articles
Everything posted by riffclown
-
@Breezin Three colors would require some additional piecework I'm not willing to do quite yet.. Maybe in the future but I want this perspective thing to complete.. As for competing, there's a personal reason I do not compete.. No real interest there.. I just enjoy the hobby. Next time I buy materials though I'm thinking Black, White and Gray to give me some really cool options with 3 colors..
-
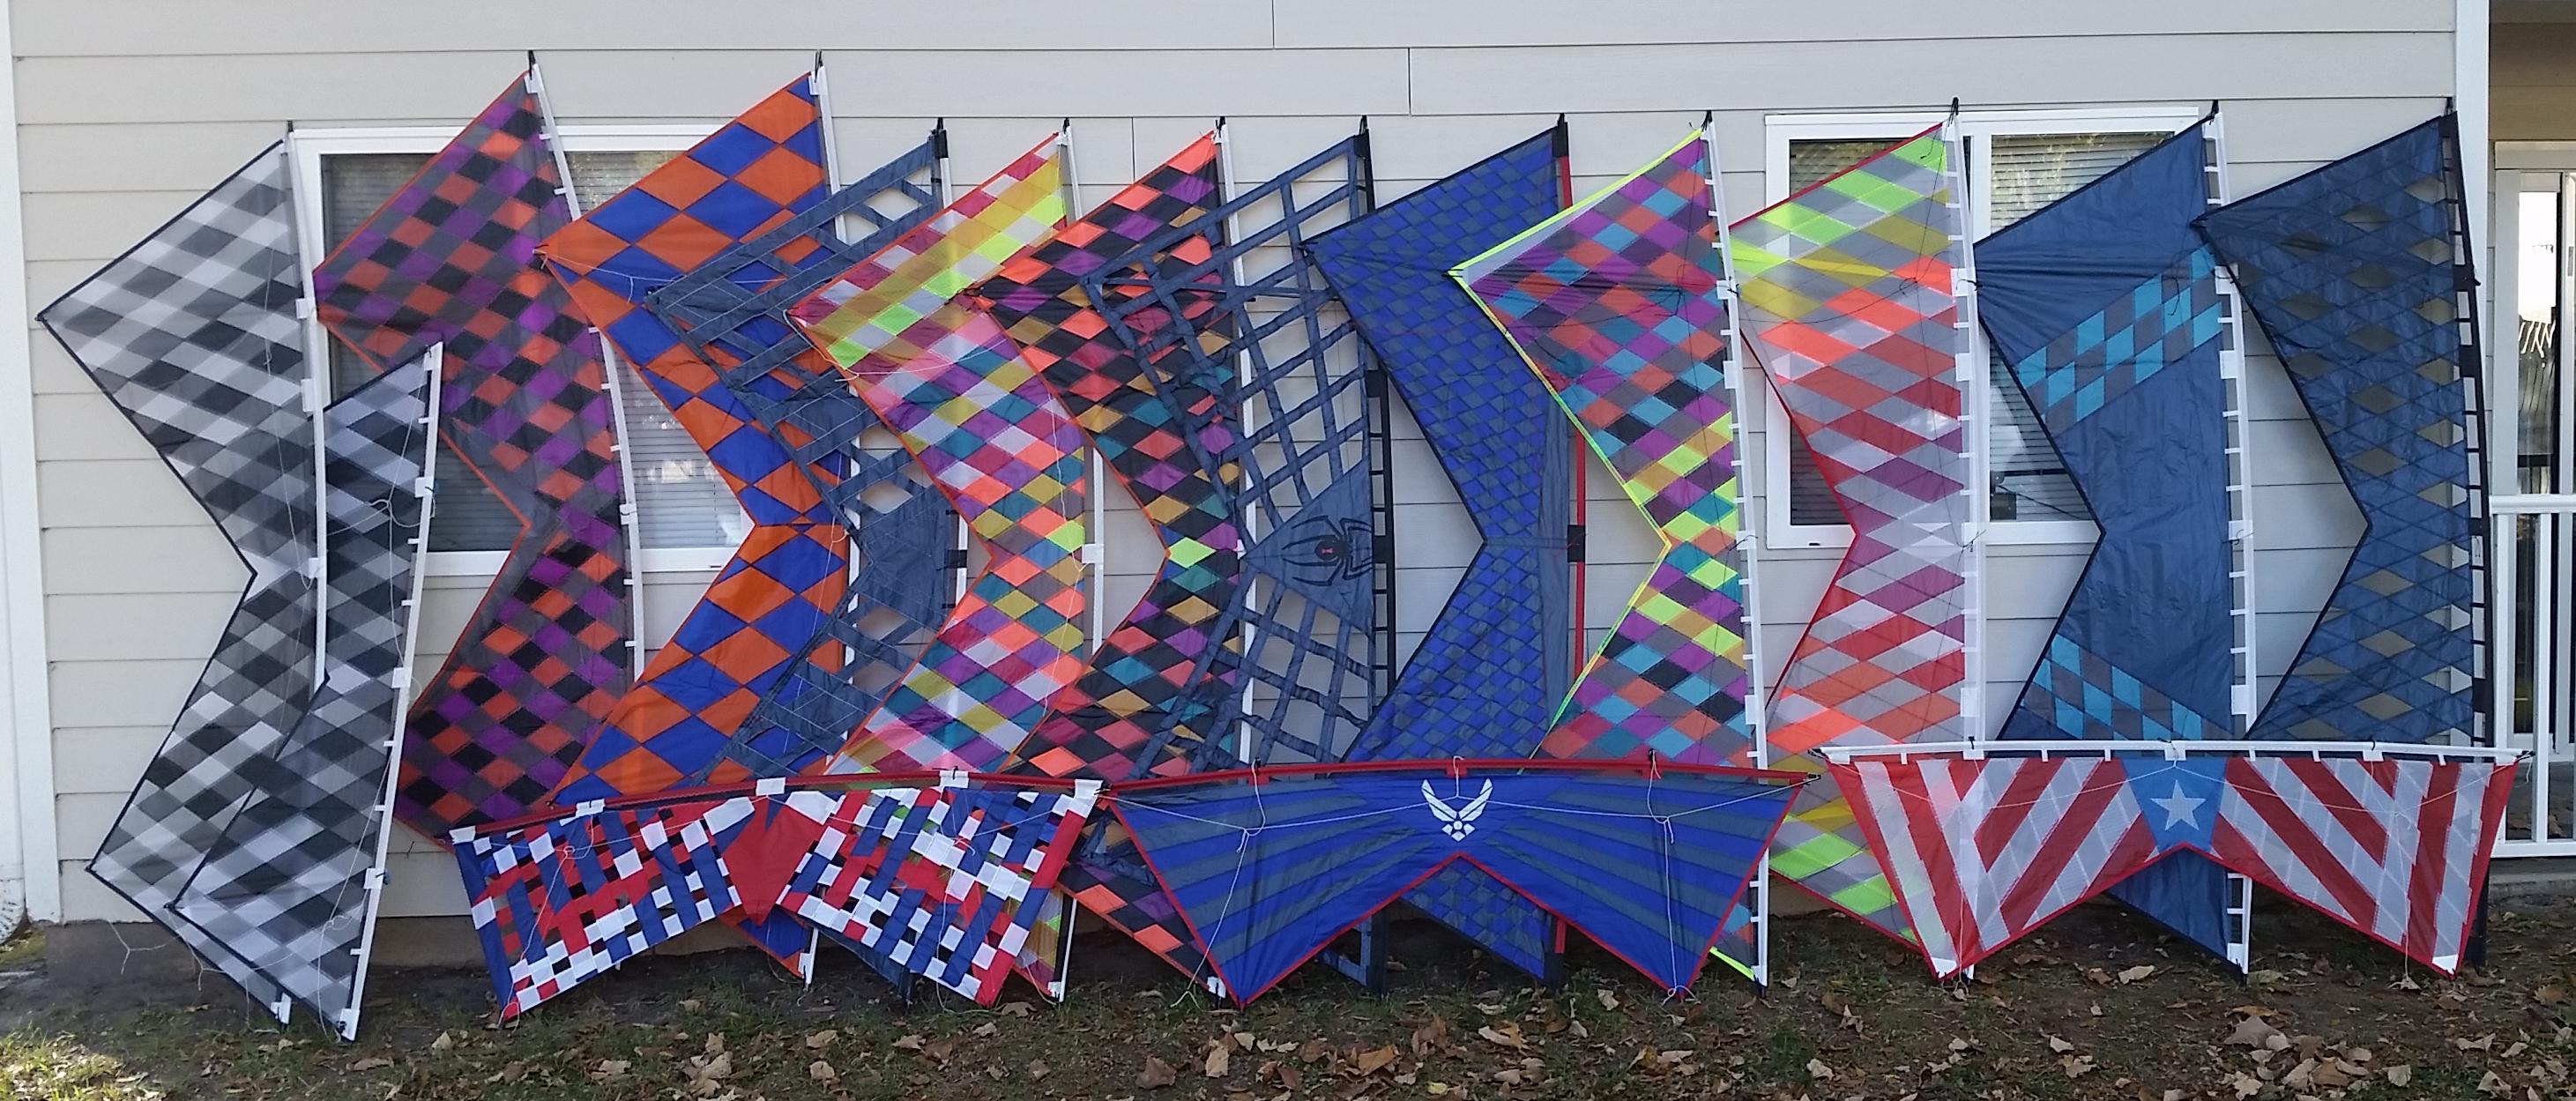
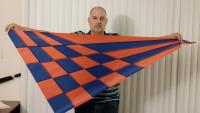
Since the new year, I've turned my attention to materials other than tails.. Nothing wrong with the tails constructions but I wanted a new perspective.. and that perspective was perspective.. Angled shapes started out as a lazy harlequin pattern in complimentary colors. Because of the pattern it became the Jester. This was my first run at edge joining materials that were not already hemmed. The Jester followed by a vanishing point perspective in dissimilar materials. Because of keeping the grain of the fabric somewhat aligned for Midnight Royal Taboo, those strips fit together in a B2 sized kite I call Yonder. (Those that participated in my Christmas riddle got the reference right away) Finally I went back to the Jester color scheme and created a new kite experiment with 2 perspective.. I suppose this was also inspired the cubic look of some of the @Polo design. The sail shape tens to lend itself to the dual perspective images in a somewhat natural progression. . Going with the Jest from Jester and the obvious checkerboard effect, Jest Checking In is laid out and ready for sewing. Enjoying the way it truly bends the eyes, I decide to move the vanishing point to the bottom and the center instead of the top. While I have to finish one kite before I lay out another, I did use the small endpieces you see in the Jest Checking In picture to mock up a 70 panel version. Nothing precision here, just wanted to see if the pattern will stay consistent. It was pointed out tp me the points of the pattern don't line up perfectly. and I will acknowledge that fact. My goal here isn't perfection but effect. It has to look right at the end of the lines.. the overlap for the long angular strips (in all three kites since the Jester) is 1/4" those angle just don't line up when you slice and overlap them in a different direction.. but at 100ft the effect is still there so I'm happy with it.. I have a bit more of the orange and blue so a large triple perspective will probably be next but I want to finish what's laid out before going down that route..
-
Had to know.. i took the smaller scrap from Jest Checking In and made a 1/3rd or maybe 1/4th mockup with 70 panels. 25" leading Edge.. Yes I think this kite will eventually become reality..
-
It's a dream right now but We'll see if it can be done. @Wayne Dowler Look closely.. it's still all straight lines. the eye and mind creates the illusion of curves..
-
Not sure if I'm crazy or not but thinking about the next build (and assuming I finish "Jest Checking In") Different "2 point perspective" and less decision for the center but a lot more panels to deal with.. It may never be built but it will be explored.. This might be my Spring project so I can lay it out flat and literally lose my mind making it.. 100+ panels.. too extreme??? Thoughts???
-
Decided to go simple in the center.. Everything else I tried either just didn't look right or would have been MC Escher impossible to sew. Smaller item will either be a small flag or part of the bag..
-
Nice flying.. I've done a few with 8 point bridles instead of the 9 point. Both will work pretty well. The center helps when you do a lot of reverse flight. Not really critical for most stuff. If you decide you'd like them reattached, I'll gladly reattach if you like. This is the first one I've heard of coming loose though..
-
I think @Breezin's original intent was he was using fabric on hand to practice technique,. His high wind remark was probably to indicate with the increased weight, it'd take a lot more breeze to get airborne if at all. Breezin seems to be practicing with goods available locally before stepping further into the hobby. Suggestion for Breezin, before buying the ripstop at Joanns or other related second choices, look at Flymarket or Goodwinds.. the Kite materials are often lower priced than the thick stuff from Joanns. You can practice on what you'll use and be able to test your handiwork on something that might produce what you want instead of building with Materials that just won't fly. The stuff I bought last year was on blowout for $3-7 a yard at the time. For the thicker materials already in hand, practice making bags, banners and ground displays. You get the same experience with your machine but the effort results in things you can use going forward.
-
Sold, you know my info.. mail it to me.. will connect with you via email this evening.
-
Truly an empty place in the sky.. Rest in Peace..
-
@SHBKF My Friend, Thank you for the words. I asked for your honest opinion and your response is the frank conversation. I'm honored and humbled that you enjoy my handiwork. As I said yesterday, please enjoy that kite to its fullest and make sure it gets flown.. Kites deserve the sky.
-
So now that both panels are basted, I'm rethinking the center.. I don't want to waste the infinity look.. More to come...
-
-
This one is going to be fun fun fun to sew.. Cutting is ALL done.. Taping half done.. This one is moving along..
-
First cuts are done and primary tape in place.. Decided asymmetrical was my best bet since I only had to get two halves right instead of four..Letting my back rest for a few before I mark off the other axis.. Pics soon-ish???? Will definitely keep you all posted..
-
Says the owner of The Jester,,
-
The Actual colors are Orange and Royal Blue.. This will be a color twin for the original Jester kite. Just a completely different panel layout..
-
Jest Checking In Concept Drawing. another in between step for the Jester and my future Fractal build. Concept hit me yesterday.. To do this one, it looks like I'll be making two complimentary kites unless I allow the panels to compliment each other as before.. .. It's still only in my head right now.. lots of details to solidify before I cut more than the two starting panels.
-
Cool Link.. Thank You..
-
@oapbillf I've considered the Leading Edge holes and can't identify a hole cutter that would work for me. I don't have the patience to hot cut that many circles. I also doubt I could perfectly cut that many round holes. Would love to find pre-punched Dacron ribbon. I see some VERY NICE WORK there!! Well Done!
-
Rain and Snow for a few days.. Hopefully will be able to fly this sometime this week..
-
It made a real difference in the tails kites especially since I could edge up the sail tension a bit without those annoying ripples in the fabric that disrupts airflow.. As I've stated elsewhere, I've played a lot with curvature on the LE and to get that you do need some additional tension there or the sail just bunches up and cancels out the curve. But every kite is an experiment..I had to completely redo the LE on Midnight Royal Taboo because of the way the fabric bunched in the center. Kite is 1/4" shorter than originally sewn.. I have no pattern and you can tell.. they don't all fly the same.. I've had a few I had to go back and rework. The only fixed measurement I have for most of my sails is the length of the leading edge sleeve and spars. Everything else is ooptional <--pun intended It's all fun right???
-
@Breezin Step one is making your bridle board. It isn't that difficult but you do have to measure and plan ahead. I made my first one because no one was making bridles for B2 sized kites.. Once I started making the 97" LE kites and in-between (83") LE kites I decided it was best to make the bridle board that could do all of those.. This is my second one. the original at the top has been retired to refine the 97" bridles.
-
I seem to have misplaced the bridles I made ahead of time for the 72" "Yonder" so thought I'd set up a camera to show the progression from plain line to a Bridled Kite..Video is sped up for brevity. Total time was about 21 Minutes. Measurements are not provided in this video.. This is just a quick stab at sharing how I make Bridles for my quad kites.. This is not the end all/be all on the topic but if you have a bridle board, this gives you a good idea on one way to use it.. I usually tie off the center loop for the horizontal legs first and then start my wraps and loops. first with one leg and then the other. I use masking tape to tape down the final strand.. The Vertical legs are almost as straight forward. Point #10 is the small loop that is the attachment point to marry all the parts together. When marking everything out, I use one color for X's and a contrasting color for O's.. in this case copper for knots and blue for loops. Once everything is marked I remove from my Bridle Board and start knotting.. I always try very meticulously to make sure the knot marks fall on the same place in the knots. This one step makes the best symmetry for the entire assembly.. I forgot to mark point #10 on the vertical legs which confused me for just a moment. Regardless I had marked the knot points so it was not an issue. Once the knots are in place I compare the legs to ensure they match. Any issues are easier to fix now than to troubleshoot later. There's two ways to do anything.. Right and Again.. Once the legs are all done, I assemble the Bridle Completely.. Once Assembled, it's ready for the kite.
-
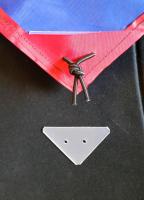
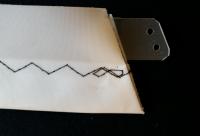
Just wanted to share a few things I do differently than Rev/Freilein or anyone else that I know of..When I'm attaching the Bungees and Caps to the sail, I did not care for the washers both Rev and Freilein use as they both allow the sail to bunch up when tension is applied.. My solution I started using about a year ago is to make inserts for the corners of the sail that provide a fixed flat area to attach the bungees to.. I make the inserts out of some plastic boxes I've had on hand and just cut them up and sand/size/punch to fit.. At the Bottom of the sail I use these triangles. If you look at the finished sail you can just see the edge of the plastic where I pulled it out a bit to show how it fits.. At the ends of the LE Sleeve I use these angled fittings that also fill the space that would be a continuation of the screening. These aren't visible on a finished kite so using an LE Sleeve I have already made but not used to show the detail. The amount of weight added to the finished sail is only a tiny bit more than the typical round washers the manufacturers use. but the advantage of the sail not bunching up at all is IMO tremendous..
